How to Work on Your Own Glove
Cleaning ◆ Conditioning ◆ Relacing ◆ Re-dye and Re-paint
This page is for working on your glove or mitt by yourself. If you are looking for information on having The Craftsman work on your glove or mitt click HERE, or reach out via the contact form below
Products I Use and Recommend
Click your Starting Point Tab
These are the Products I Use for Cleaning
These are the products I use to condition gloves and mitts
These are the products I use to relace gloves and mitts
These are the products I use to refinish gloves and mitts, including painting and dying.
Step-by-step guide to working on your own glove or mitt.
How to Clean Your Glove
If you are relacing your glove at the same time, remove the old laces before cleaning. You DO NOT have to relace your glove when you clean it.
1. Wipe off any loose dirt and debris
- Use a clean cloth, rag, or brush to remove any dirt or debris you can.
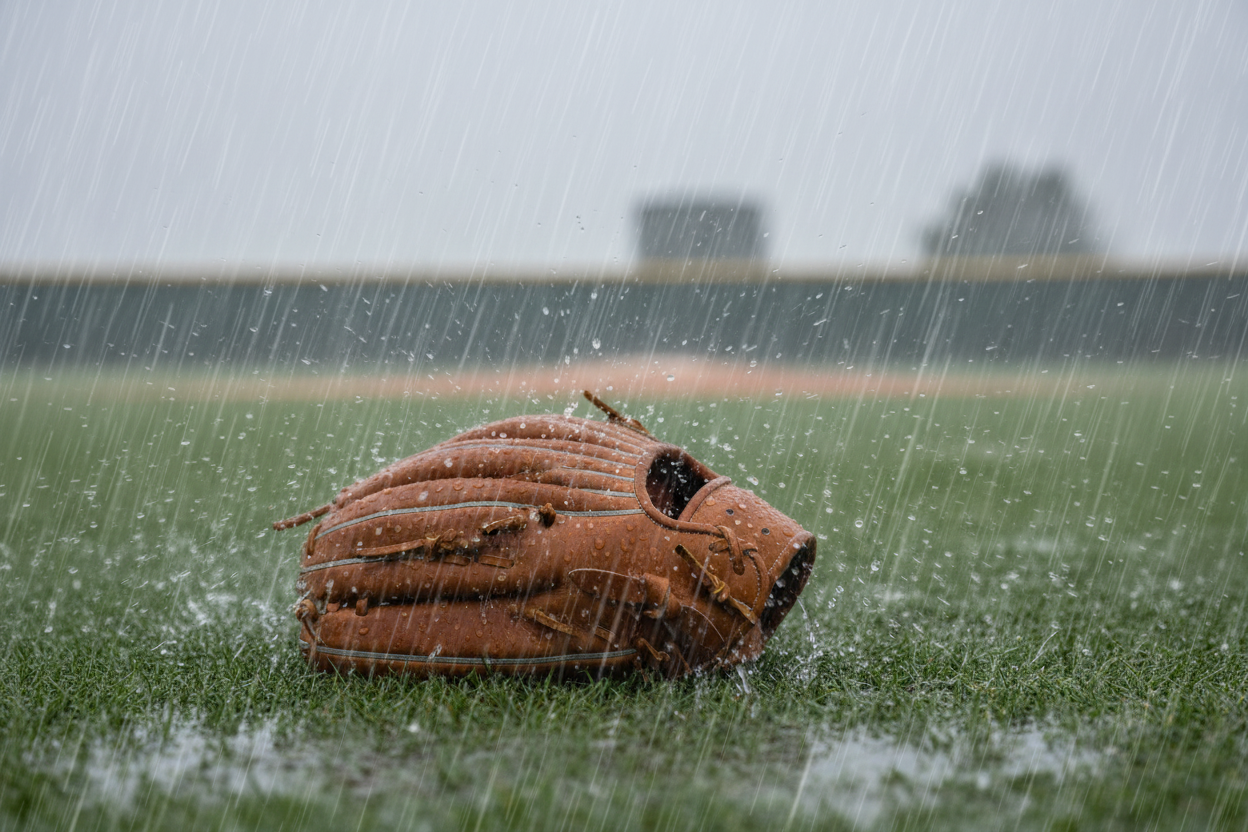
- Remove and dry any mud or wet spots if possible
2. Clean with leather spot cleaner
- Spray Leather Spot Cleaner onto a clean cloth or brush.
- Using gentle circular motions, remove any dirt, debris, or surface contaminants.
- For stubborn buildup, use a soft bristle brush.
- Allow to fully dry (24 hours may be necessary) before applying Glove Lotion, Glove Salve.
- For more info or using Leather Spot Cleaner, click here: Using Leather Spot Cleaner from The Craftsman's Works
3. If further or deeper cleaning is required
- Try to avoid most soaps if you can, as they have a higher pH than the leather, and can lead to further deterioration of the leather. Especially avoid using heavy cleaners on older and fragile leather.
- If the dirt and contaminants are deeper into the leather and the glove needs a deep cleaning. I usually recommend Saddle Soap. I usually use: Feibing's Saddle Soap
- Spray the Leather Spot Cleaner onto the saddle soap and onto the section of the glove you intend to clean.
- Using a soft bristle (horsehair) brush, create a lather with the saddle soap and Leather Spot Cleaner. Water can be added in addition to the Leather Spot Cleaner to help create a lather and/or help clean.
- In small circular motions, clean one area of the glove at a time, taking care to NOT over-wet the leather. Avoid soaking the leather if you can.
- With a clean area of a cloth, wipe away any soap, dirt, debris, etc., once that area is cleaned.
- Continue to clean the whole glove by repeating the steps above, one small section at a time.
- If the glove has been neglected for a long time or has been overly saturated with oils, several cleanings may be necessary.
- Allow to fully dry (24 hours may be necessary) before applying Glove Lotion, Glove Salve, or any other conditioner.
Step-by-step guide to working on your own glove or mitt.
How to Condition Your Glove
Allow to fully dry (24 hours may be necessary) before applying Glove Lotion, Glove Salve, or any other conditioner.
1. Apply a small amount of Conditioner
- Once the glove is completely dry, you can apply a small amount of a quality conditioner like Glove Lotion or Glove Salve from The Craftsman's Works.
- Start with a nickel or quarter sized amount of Glove Lotion or Glove Salve, and using your hand or a clean cloth, work the conditioner into the leather, going section by section around the glove.
- Pay special attention to the areas that see the most wear and tear, and the inside of the glove that sees the most sweat and oils from the users hand.
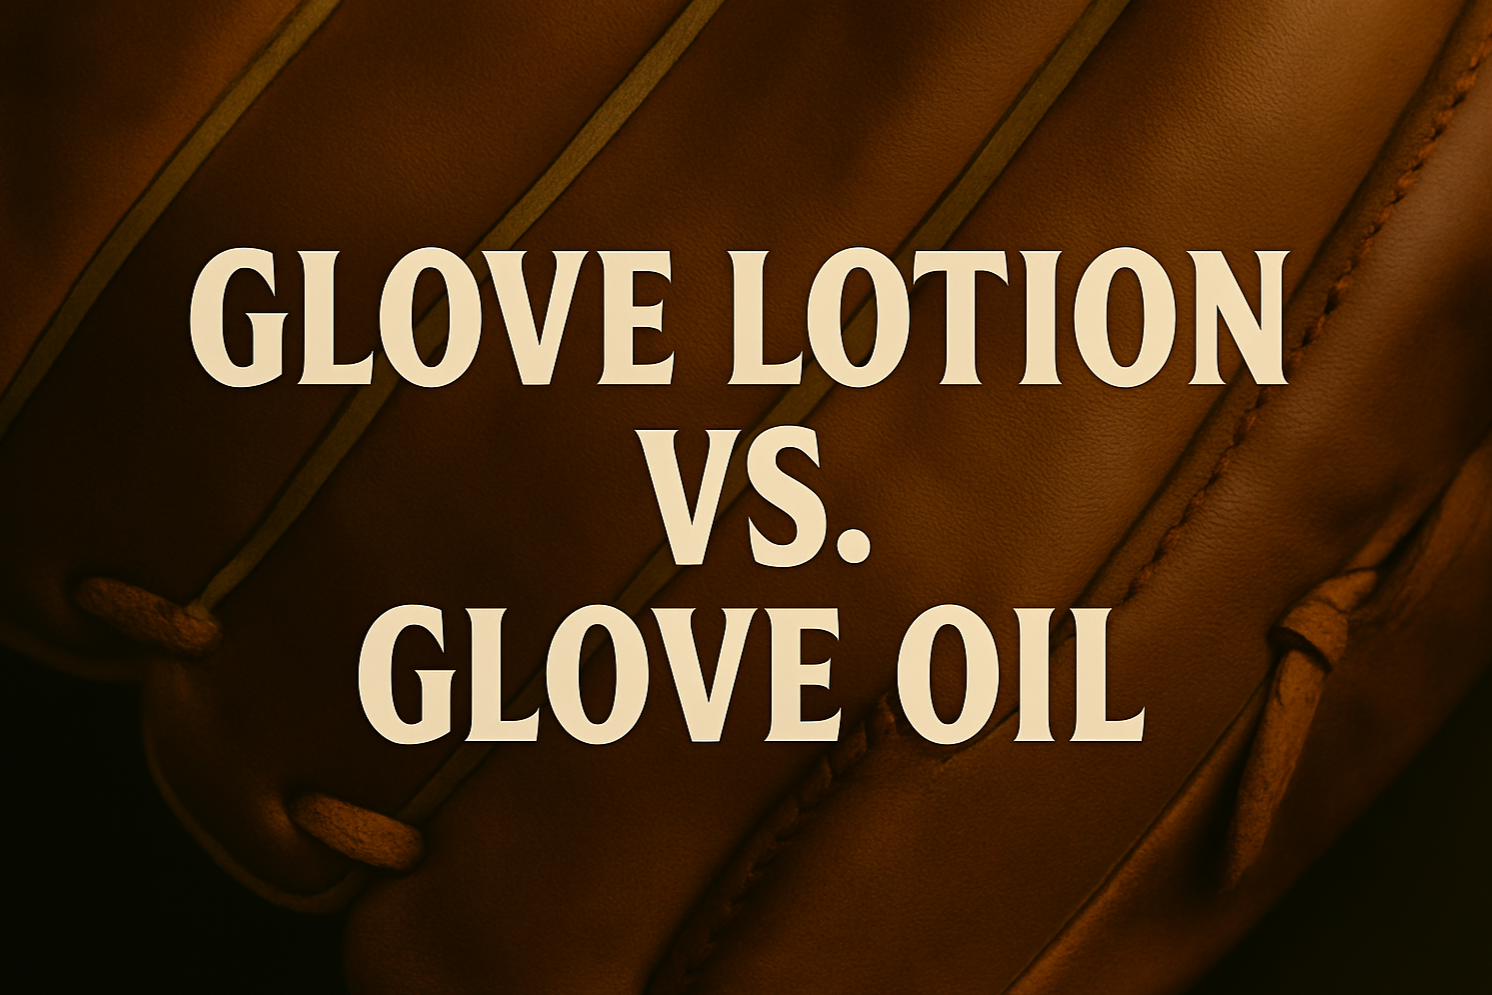
- Glove Lotion is absorbed into the leather quicker than Glove Salve, making it ideal for deep restoration, really dry gloves, and for times you need to apply conditioner quickly. Read more about Glove Lotion and how to use it, here: Take Care of Your Leather with Glove Lotion from The Craftsman's Works
- Glove Salve is a thicker formula than the Glove Lotion, making it ideal for conditioning and protecting your leather. Great to apply to as a water-proofer, and after you finish restoring your glove or mitt. Read more about Glove Salve and how to apply it, here: The Power of Glove Salve: Protect, Restore, and Condition Your Leather Gear
2. Check your leather
- After the Glove Lotion or Glove Lotion or Glove Salve has soaked into the leather, wipe off any excess conditioner.
- If the glove or mitt is still really dry, more conditioner may be applied. 2-3 applications is not uncommon on really dried out gloves.
- Always wipe away any excess conditioner to prevent over conditioning the leather and/or creating areas that will build up with grime.
Step-by-step guide to working on your own glove or mitt.
How to Relace your Glove or Mitt
It is recomended that you clean your glove at the same time that you are relacing your glove or mitt. Dirt and grime can build up underneath the laces, and this provides a great time to clean in those areas. Use Leather Spot Cleaner from The Craftsman's Works for this cleaning.
It is also recommended that you lightly condition your glove when you have the laces removed. This provides an excellent time to condition parts of the glove that are difficult to reach when the laces are in. It is recommended that you use a light application of Glove Lotion from The Craftsman's Works for this cleaning.
Every glove or mitt is slightly different, and the following guide is meant to serve as a general outline or overview, not to give specific details about any one specific glove.
1. Remove one lace at a time
- Especially if this is one of your first times relacing this glove, remove one lace at a time.
- It is not recommended that you cut all the laces and remove them all at the same time if you are not experienced and confident you know how the laces go back in.
- Draw a sketch of where the lace went as you remove it.
- Use needle nose pliers to help you pull and remove the laces.
- If you are cutting your laces out, or need to cut part of the laces, use cutters for this.
- If you are removing one lace at a time, you can "chase the lace." This means you can put the new lace in as you remove the old lace so that you know exactly where it goes.
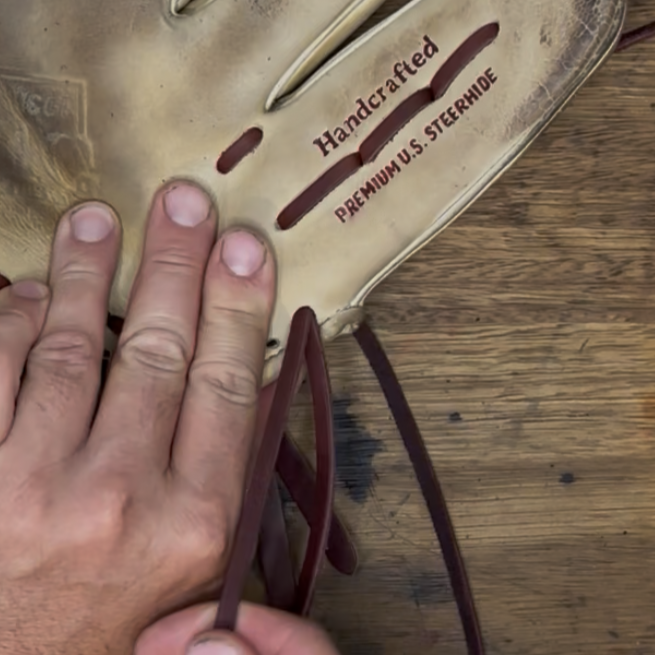
3. Prep the new lace
- Cut the end of your new lace to prepare it for attaching to your lacing needle. I cut it into a "V" pattern, starting about 1/4 to 1/2 in down the lace.
- Screw the lace into the bottom of your lacing needle. Make sure it is screwed in tightly. You can give it a light tug to ensure that the lace is solidly connected to the needle.
- Use a very small amount of Glove Salve to condition and wax the lace before you relace the glove. This not only conditions the lace, but allows it to more easily slide through the holes without damage to the lace or the glove.
- Pre-stress the lace. This is most important for the laces around the web that take the impact of the baseball. This helps to check for damaged or week spots in the lace, but also more importantly, it preps the lace to be able to take the impact of the baseball. To do this, I pull the lace over and around a metal rod. I usually just use a screwdriver, but a lacing needle or anything small, long, and round can work. I keep the rough side of the lace down (facing the metal rod) so that I don't impact the "new look" of the lace as much.
2. Re-lace the glove or mitt
- Starting at the first hole, carefully push the needle through to the other side. Make sure you don't poke new holes into any of the leather or padding on the glove. Every hole that the glove needs is already punched. If you are having problems, ensure the padding and any other internal components of the glove are properly aligned.
- Once the needle comes through the other side, gently pull on the lace and NOT the needle to pull the lace all the way through. One the first hole, leave at least 5-6 inches of lace sticking out of the first hole. This extra lace will be used to tie the lace off at the end.
- Complete the steps, pushing and pulling the needle through all the gloves until that section of the glove is relaced.
- Use a square knot to tie off the two loose ends, and cut the lace tag ends to the desired length. Two to four inches is typically normal. Remember, you can always cut more off, but you can never put more on.
I generally relace gloves in the following order:
- Thumb and Pinky runs. These two runs hold the padding in the thumb and pinky of the glove. NOTE: Pay attention if there is a hidden run on either or both of these.
- Palm runs. This run hold the palm pad in place, keeping it from moving up into actual palm of the glove. On some, usually higher end gloves, there might be a second palm run that holds the palm pad in place, and has the lace run through the palm pad, similar to how the lace goes through pinky and thumb loops. NOTE: Palm runs are usually skived (or thinned out). Thinner laces here allow for tighter turns and more comfort for the glove user. Without skiving the lace, in areas where the laces goes out in and out in a very close space, the lace can bunch up creating uncomfortable bumps. I use a Japanese Skiving Knife (similar to that one), but a bench skive is much easier.
- Heel run. The heel run holds the bottom of the palm leather to the bottom of the back shell. It is pretty simple run. Usually, there are no knots holding the laces in. On most gloves, both ends of the heel run are tucked under and held in place by tight wraps that go through both pieces (in some places three) and around the tag end of the lace. I usually try to get three wraps around each tag end of the lace. Some glove brands, like Nokona, use a knot on the inside of the glove to start the heel lace run. NOTE: On vintage gloves, and some gloves with metal gromets around the holes in the heel, the smaller lacing needle will be required to fit through the holes.
- Web run. The web lacing is the most important to "pre-stress," so make sure you do that here. Every style of web lacing pattern is different, so make sure you know the pattern that was on your glove or mitt originally. This is where "chasing the lace," pictures, sketches, and notes can really come in handy.
- Finger run. This is the lace that holds the fingers together. There are two most common finger lace patterns, the basic pattern used by most Rawlings gloves and other brands, and Wilson pattern that is used on some (mostly older) Wilson gloves.
- For the basic pattern, you will tie a knot in the lace, leaving a 2-4 inch long tag, and start the lace on the back side of the pinky. Then you will come out the top of the front of the pinky, then down to the bottom of the ring finger. Go in the front, and out the back, Once out the back of the ring finger, you will go in the back of the bottom hole on the back of the pinky and out the front bottom hole. The from the bottom of the pinky, you will go in the top of the ring finger, creating an "X" with the laces between the fingers on the front of the glove. You will then pass the lace around the back of the ring finer, go in the top, back hole of the ring finger and start the process again. Repeat these steps until you exit the top/back of the index finger. NOTE: Some gloves will stop the lace here. You can tie it off here, or you can continue the same pattern and come out the top/front of the index finger and use that same lace to continue onto the webs spiral (that is what I usually do.)
- For the Wilson Style pattern, you will NOT tie a knot in the lace to start, but instead you will see two holes on the top/back of the pinky, furthest away from the other fingers. Go in the bottom of these two holes and then out the top back hole that is closest to the ring finger. Then go in the top/back and out the next top/back hole in the ring finger and so on until you go into the top/back hole on the index finger. (YES, you stay on the back of the glove the hole time with this part and the laces do NOT run on the back of the fingers. You will only see the laces between the fingers.) Once you go in the top/back hole of the index finger, you will come out the top/front hole on the index finger. Then you will go in the bottom/front hole of the middle finger, and out the bottom/back hole of that middle finger. Pull the lace through and then enter the bottom/back hole of the index finger, coming out the bottom/front hole of the index finger. Then from that hole, the lace will go up to the top/font hole of the middle finger and (staying on the front of the finger) out the top/front hole of the middle finger. This will create your "X" in the laces between the index and middle fingers and start your lace for the "X" between the middle and ring fingers. Repeat these steps until you go in the last hole on the top/front of the pinky finger. From there you will exit the top/back hole (just above the very first hole you started in) and then tie those two tag ends together using square knot.
- Some gloves, usually longer, outfield and some pitching models, use an extra finger run further down that runs through the back of the fingers to keep them together lower also.
6. Web Spiral. Like with the finger runs, there are two basic web spiral runs. A basic spiral and an "X" spiral. Typically (but not always), the "X" spiral is used in conjunction with the Wilson style finger pattern or with some Catcher's mitts and First Base Mitts.
- For the basic spiral. Start by making sure the lace is going in the top/back hole of the index finger and out the top/front of the index finger. This could be a continuation of the finger laces, or a new lace. If a new lace, tie a knot to hold the lace in place behind the index finger. When looking at the front of your glove, look at the marks from the old laces. Note if the lace lines are leaning toward the thumb or the pinky. If the lines are leaning toward the pinky of the glove, you will come out the hole in the back and in the hole in the front for each wrap until you reach the end. If the lace marks lean toward the thumb, you will come out the front and go in the back hole. When you get to the end of the web spiral run on the web, you will come out the side of the web with the lace, then run the lace in the hole on the top of the thumb (that has another lace already in it), and out the hole in the back of the thumb. Sometimes, this hole will already have a lace running in it, sometime it will not. Tie a knot, and cut the lace
- For the "X" style pattern most commonly used with "Wilson Style" lacing, you will usually see two hole on the back/top of the thumb. Start by running the lace through the bottom of the two holes, and out through the hole on the back of the thumb that is closest to the web. There usually will already be a lace running into this hole. You will then run the lace into the side of the web and out the first hole (closest to the thumb) on the back of the web. From here, look at the previous lace marks, because it can vary slightly. Usually, you will then skip one hole (sometimes two) on the front, and enter through the front and go out the back. Then follow the previous lace marks, and go in the front and out the back, skipping a hole each time. When you get to the end of the web, come out the side of the web, go in and out of the index finger, and back into the side of the web. Repeat the process of going in and out, following the previous marks and skipping holes, until you reach the end of the web. From there, come out the side of the web, go into the hole on the front/top of the web (probably already has a lace in it) and out the hole on the top/back of the thumb. Use a square knot to tie your lace off, then cut it.
Further Reading
How-To and Helpful Articles


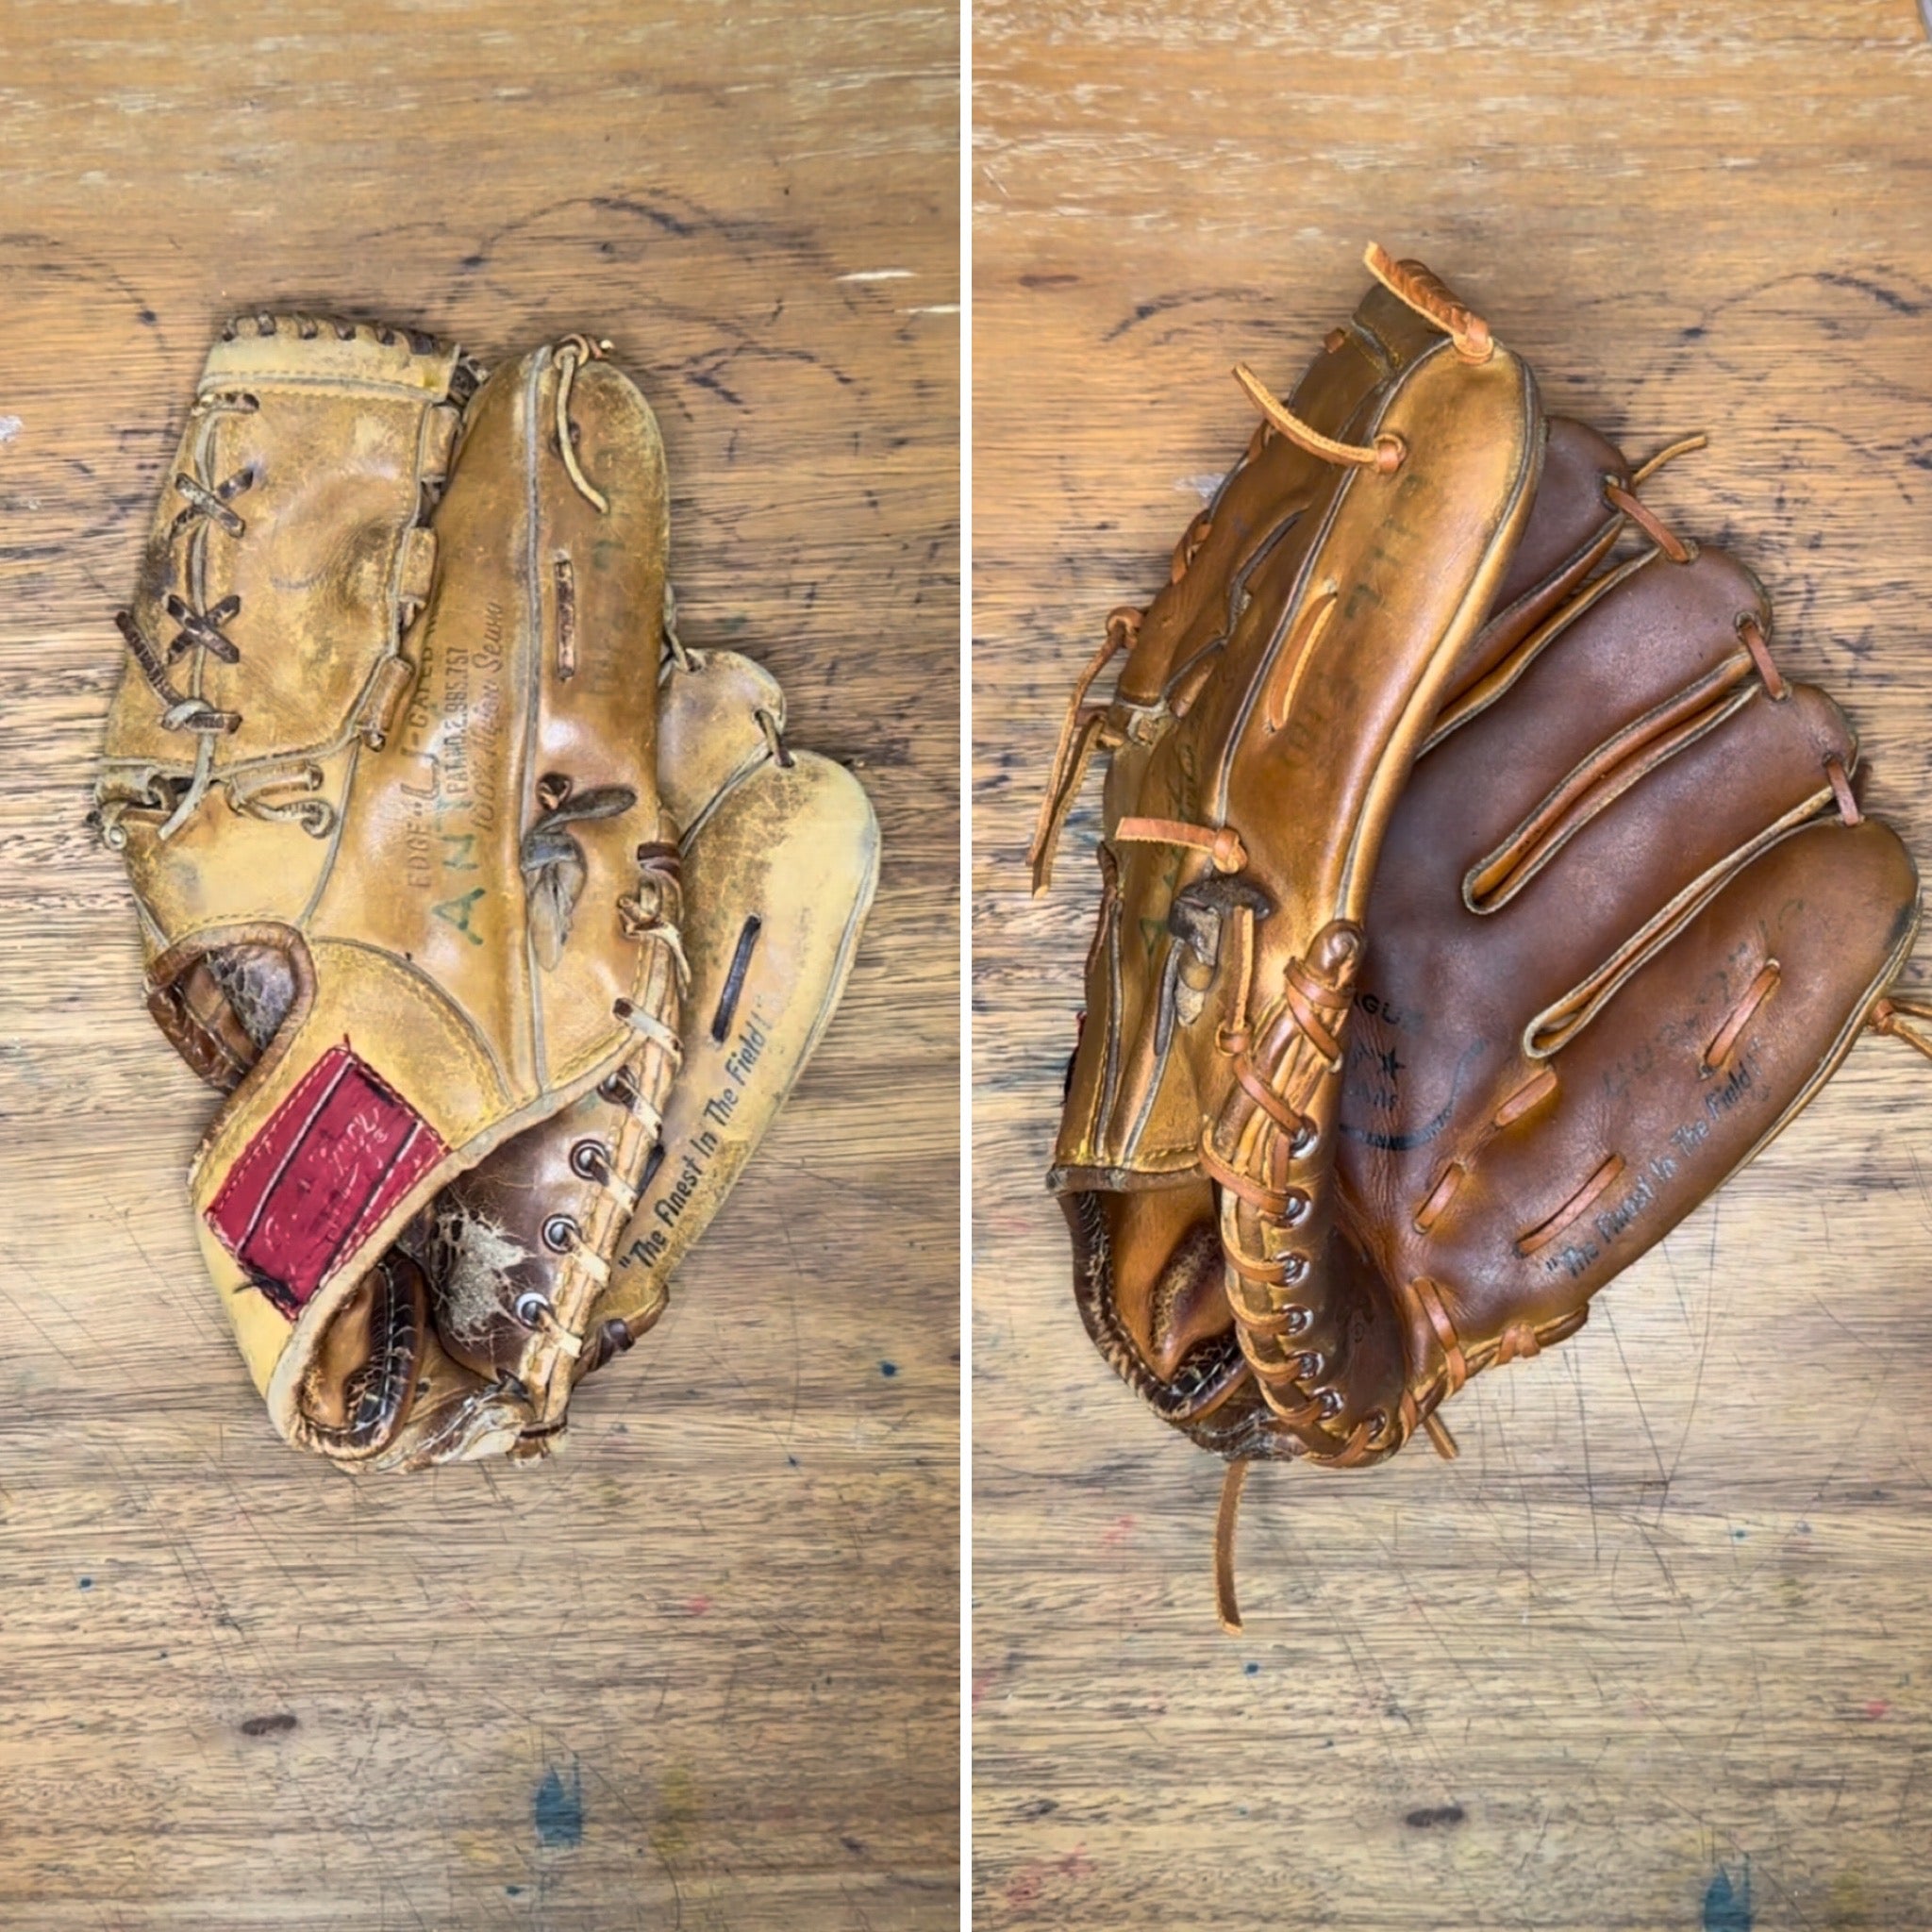
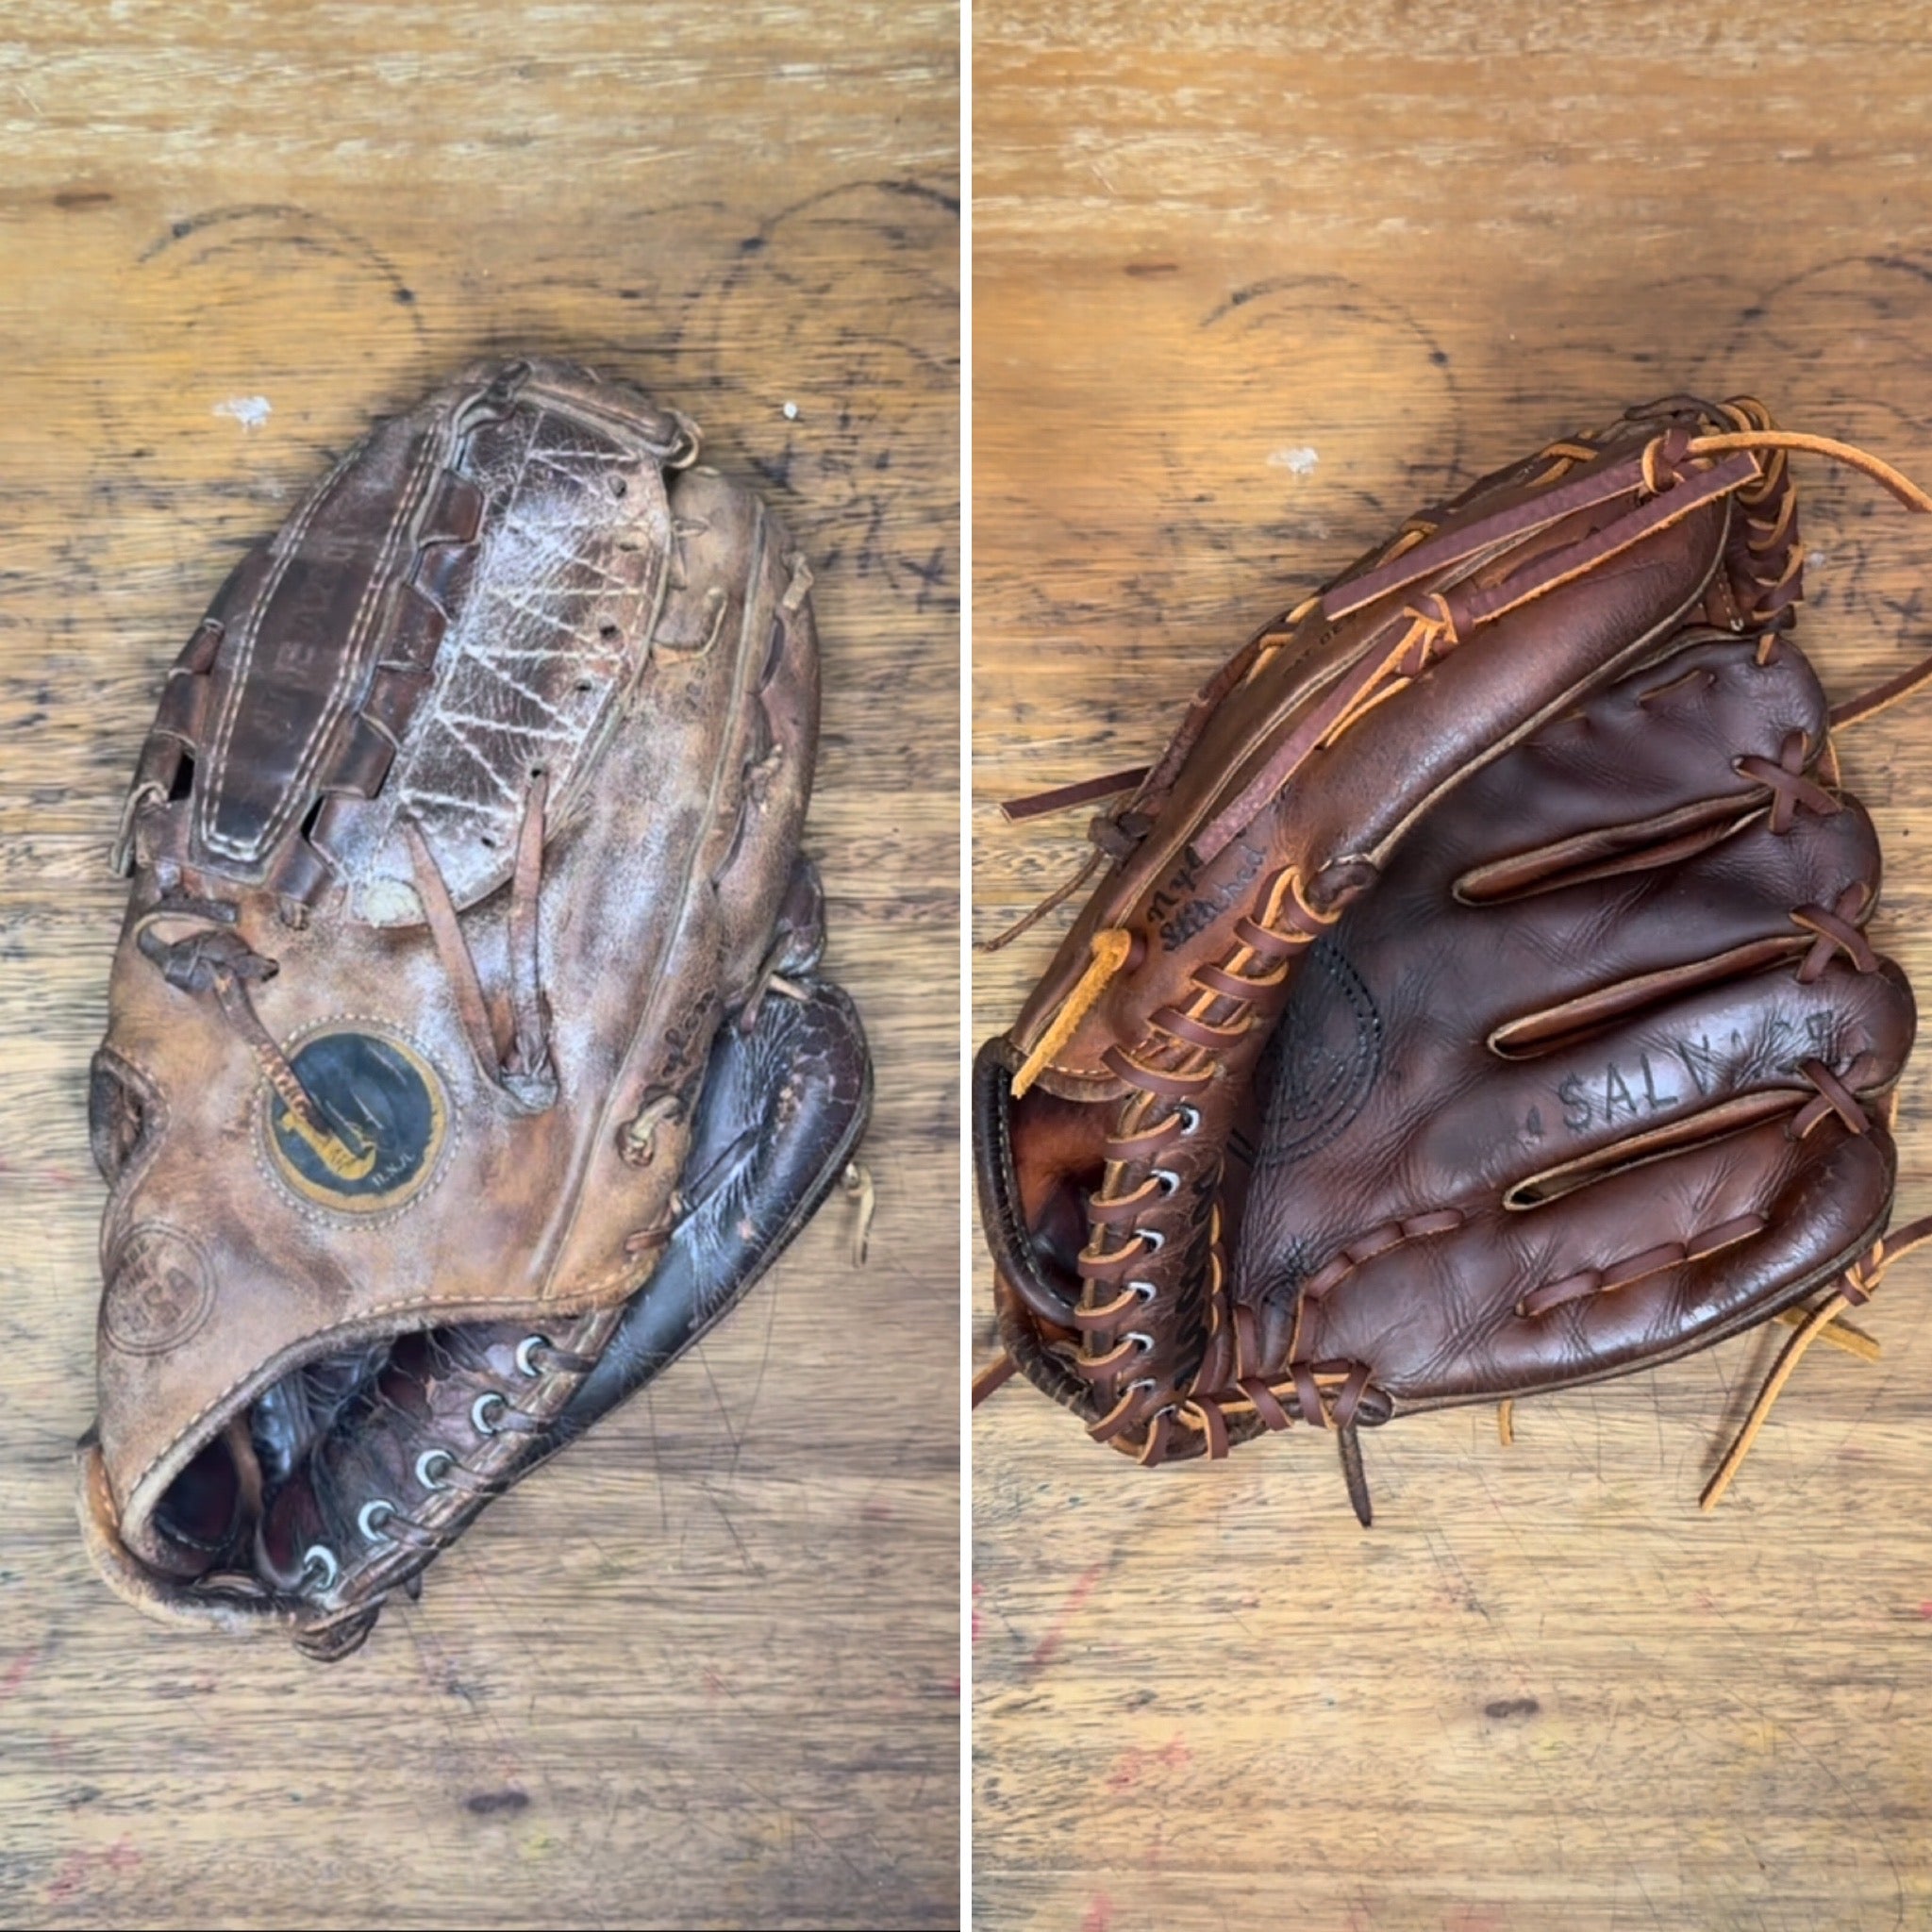
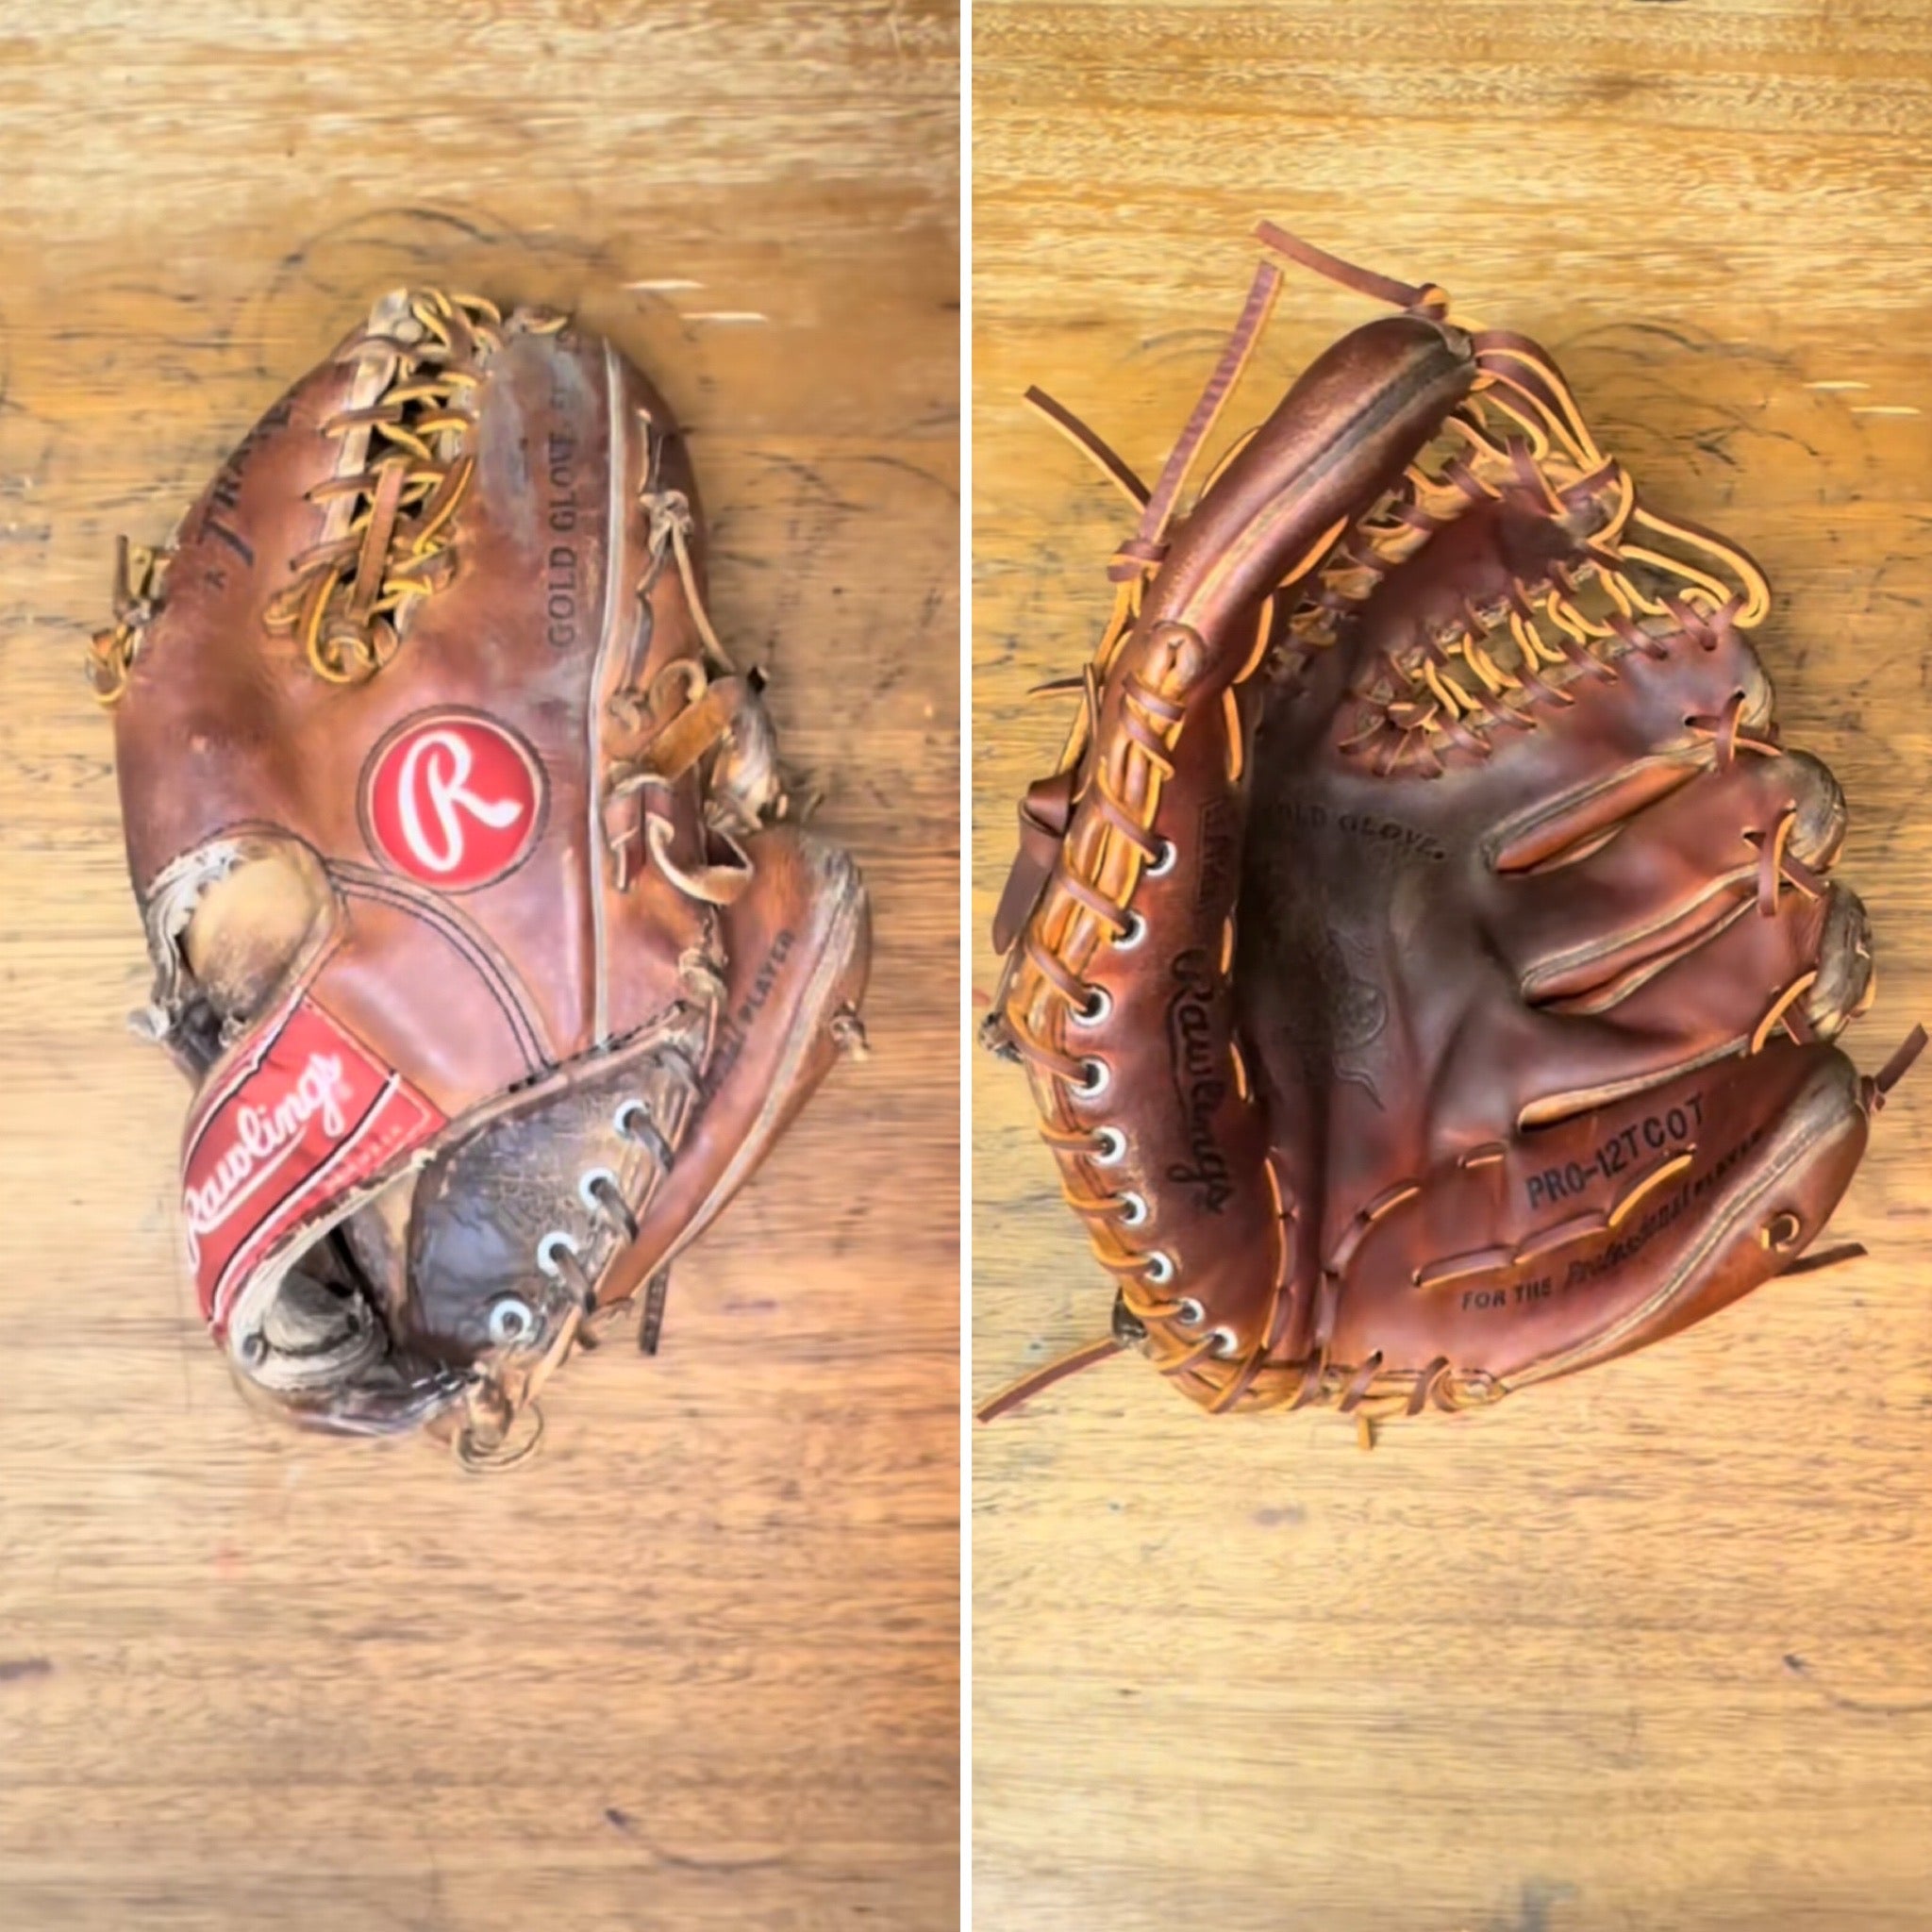
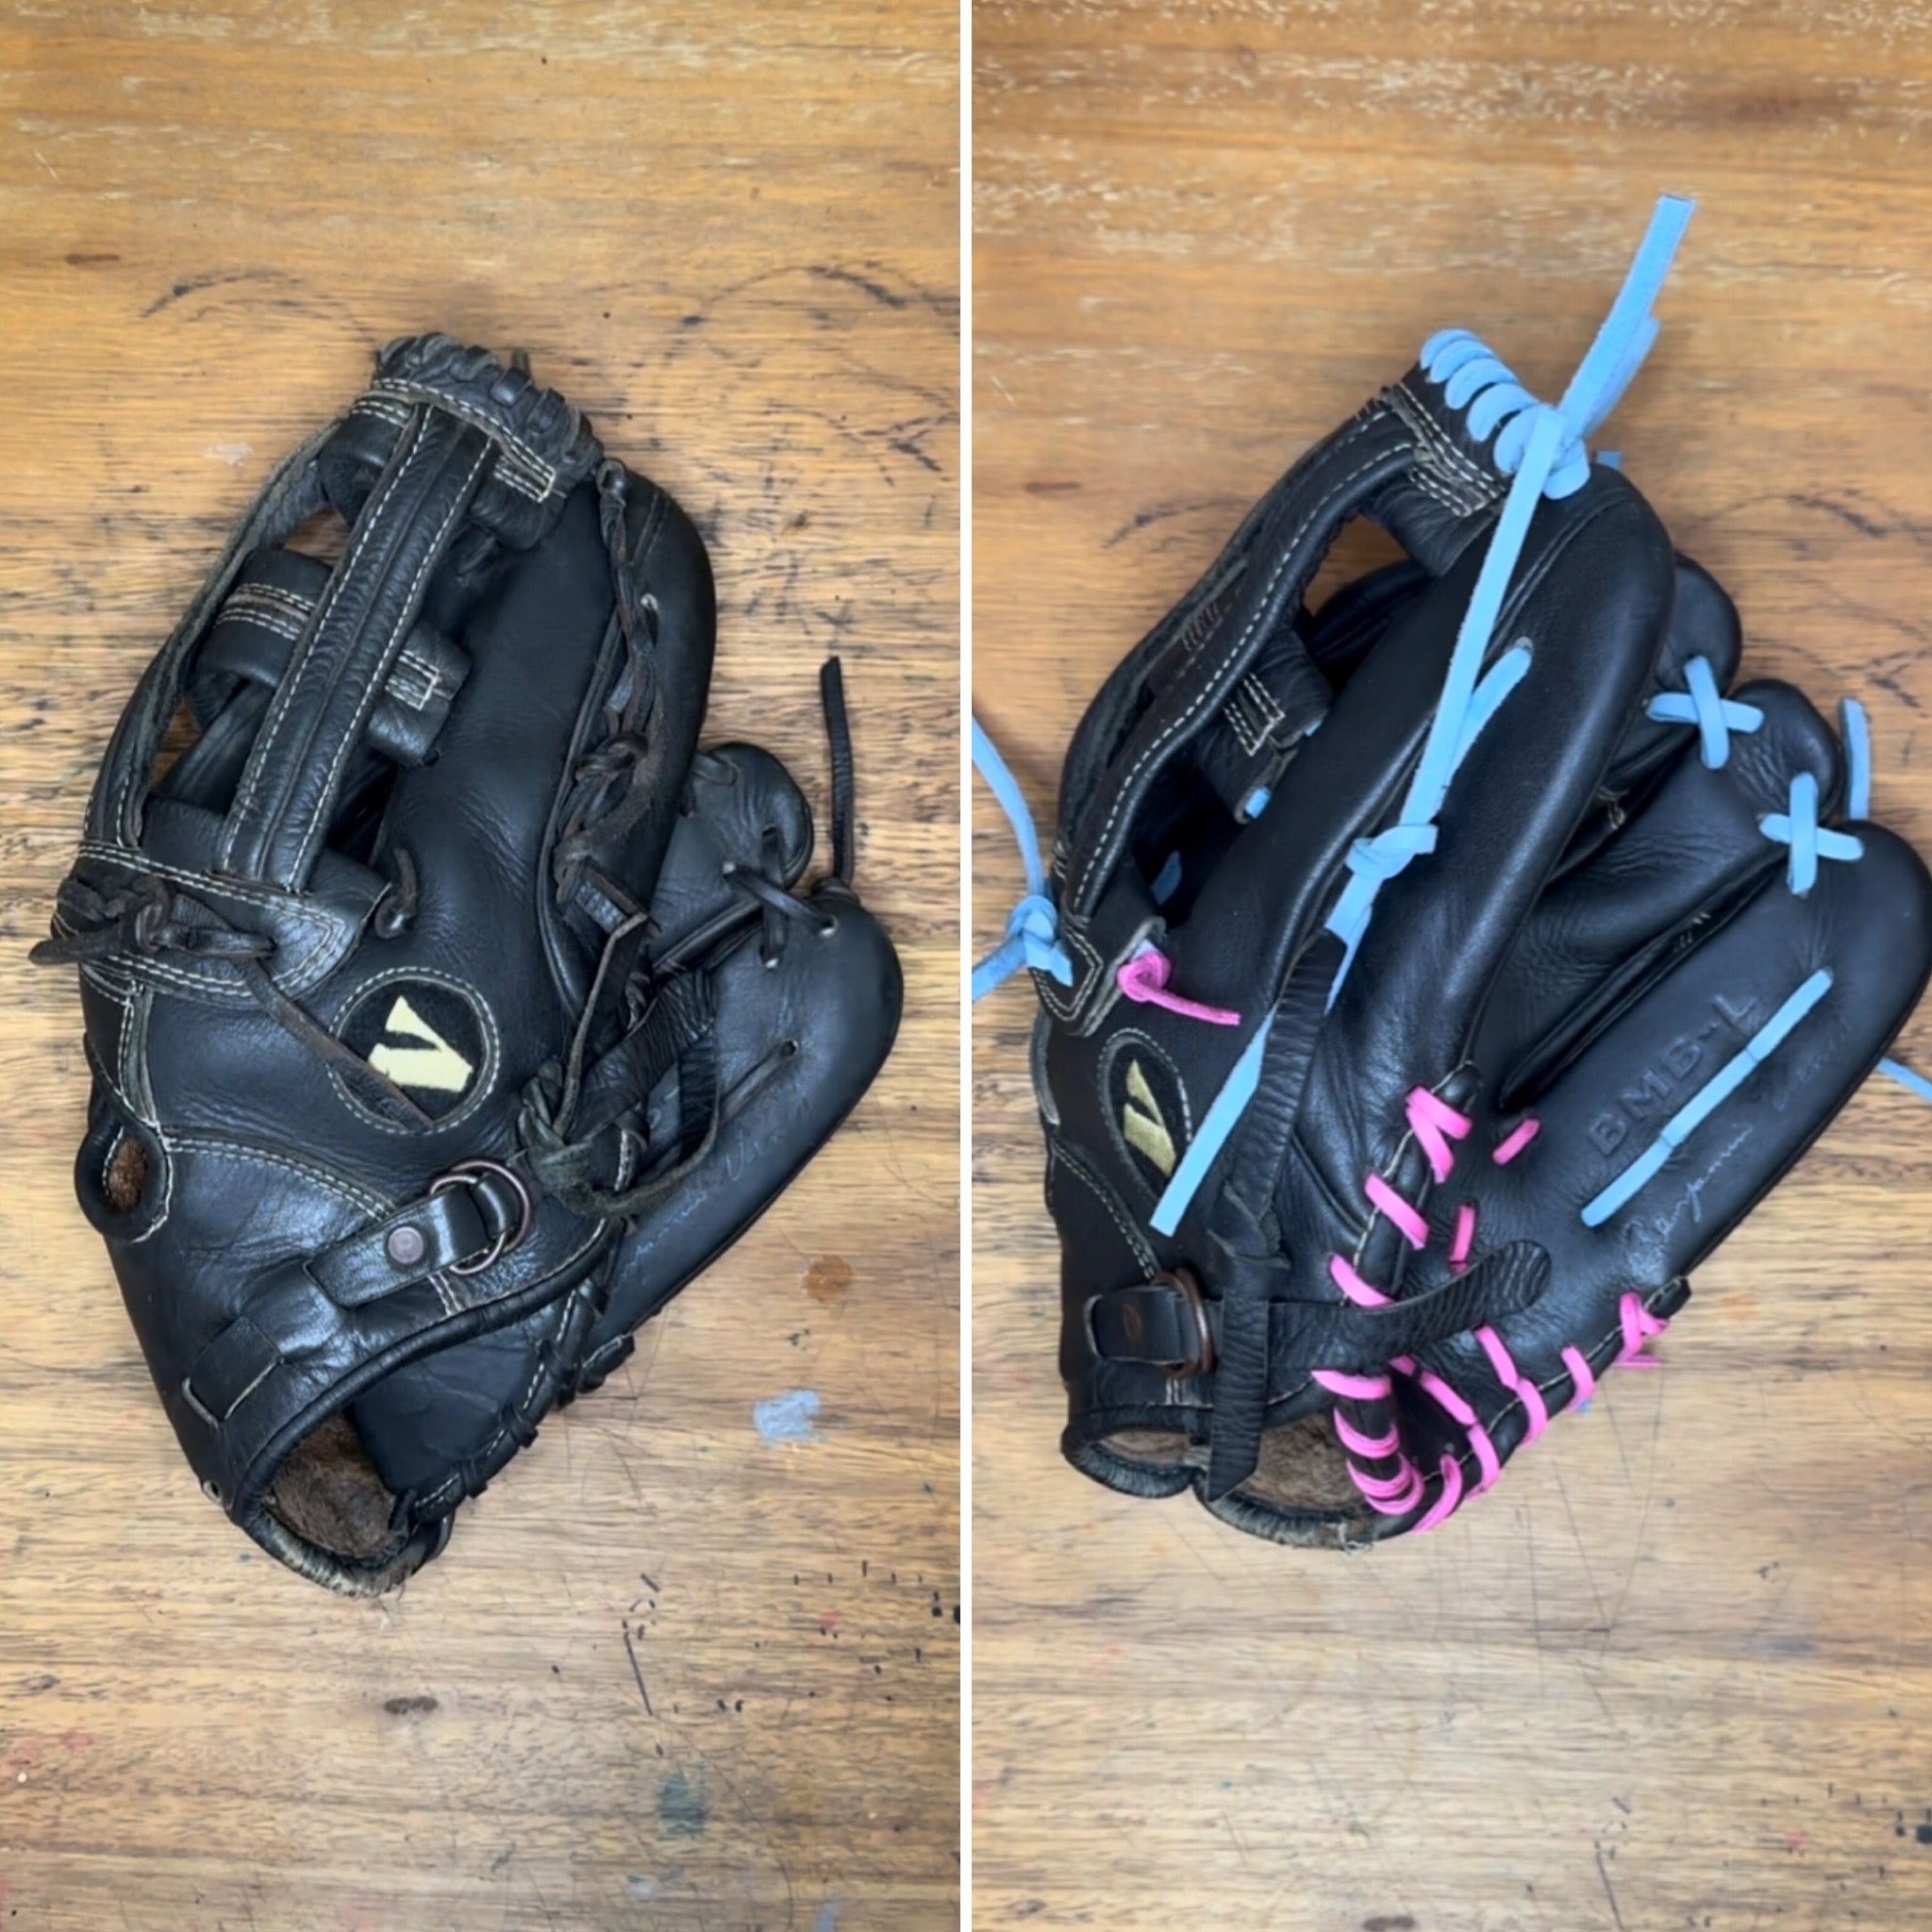
Need Inspiration?
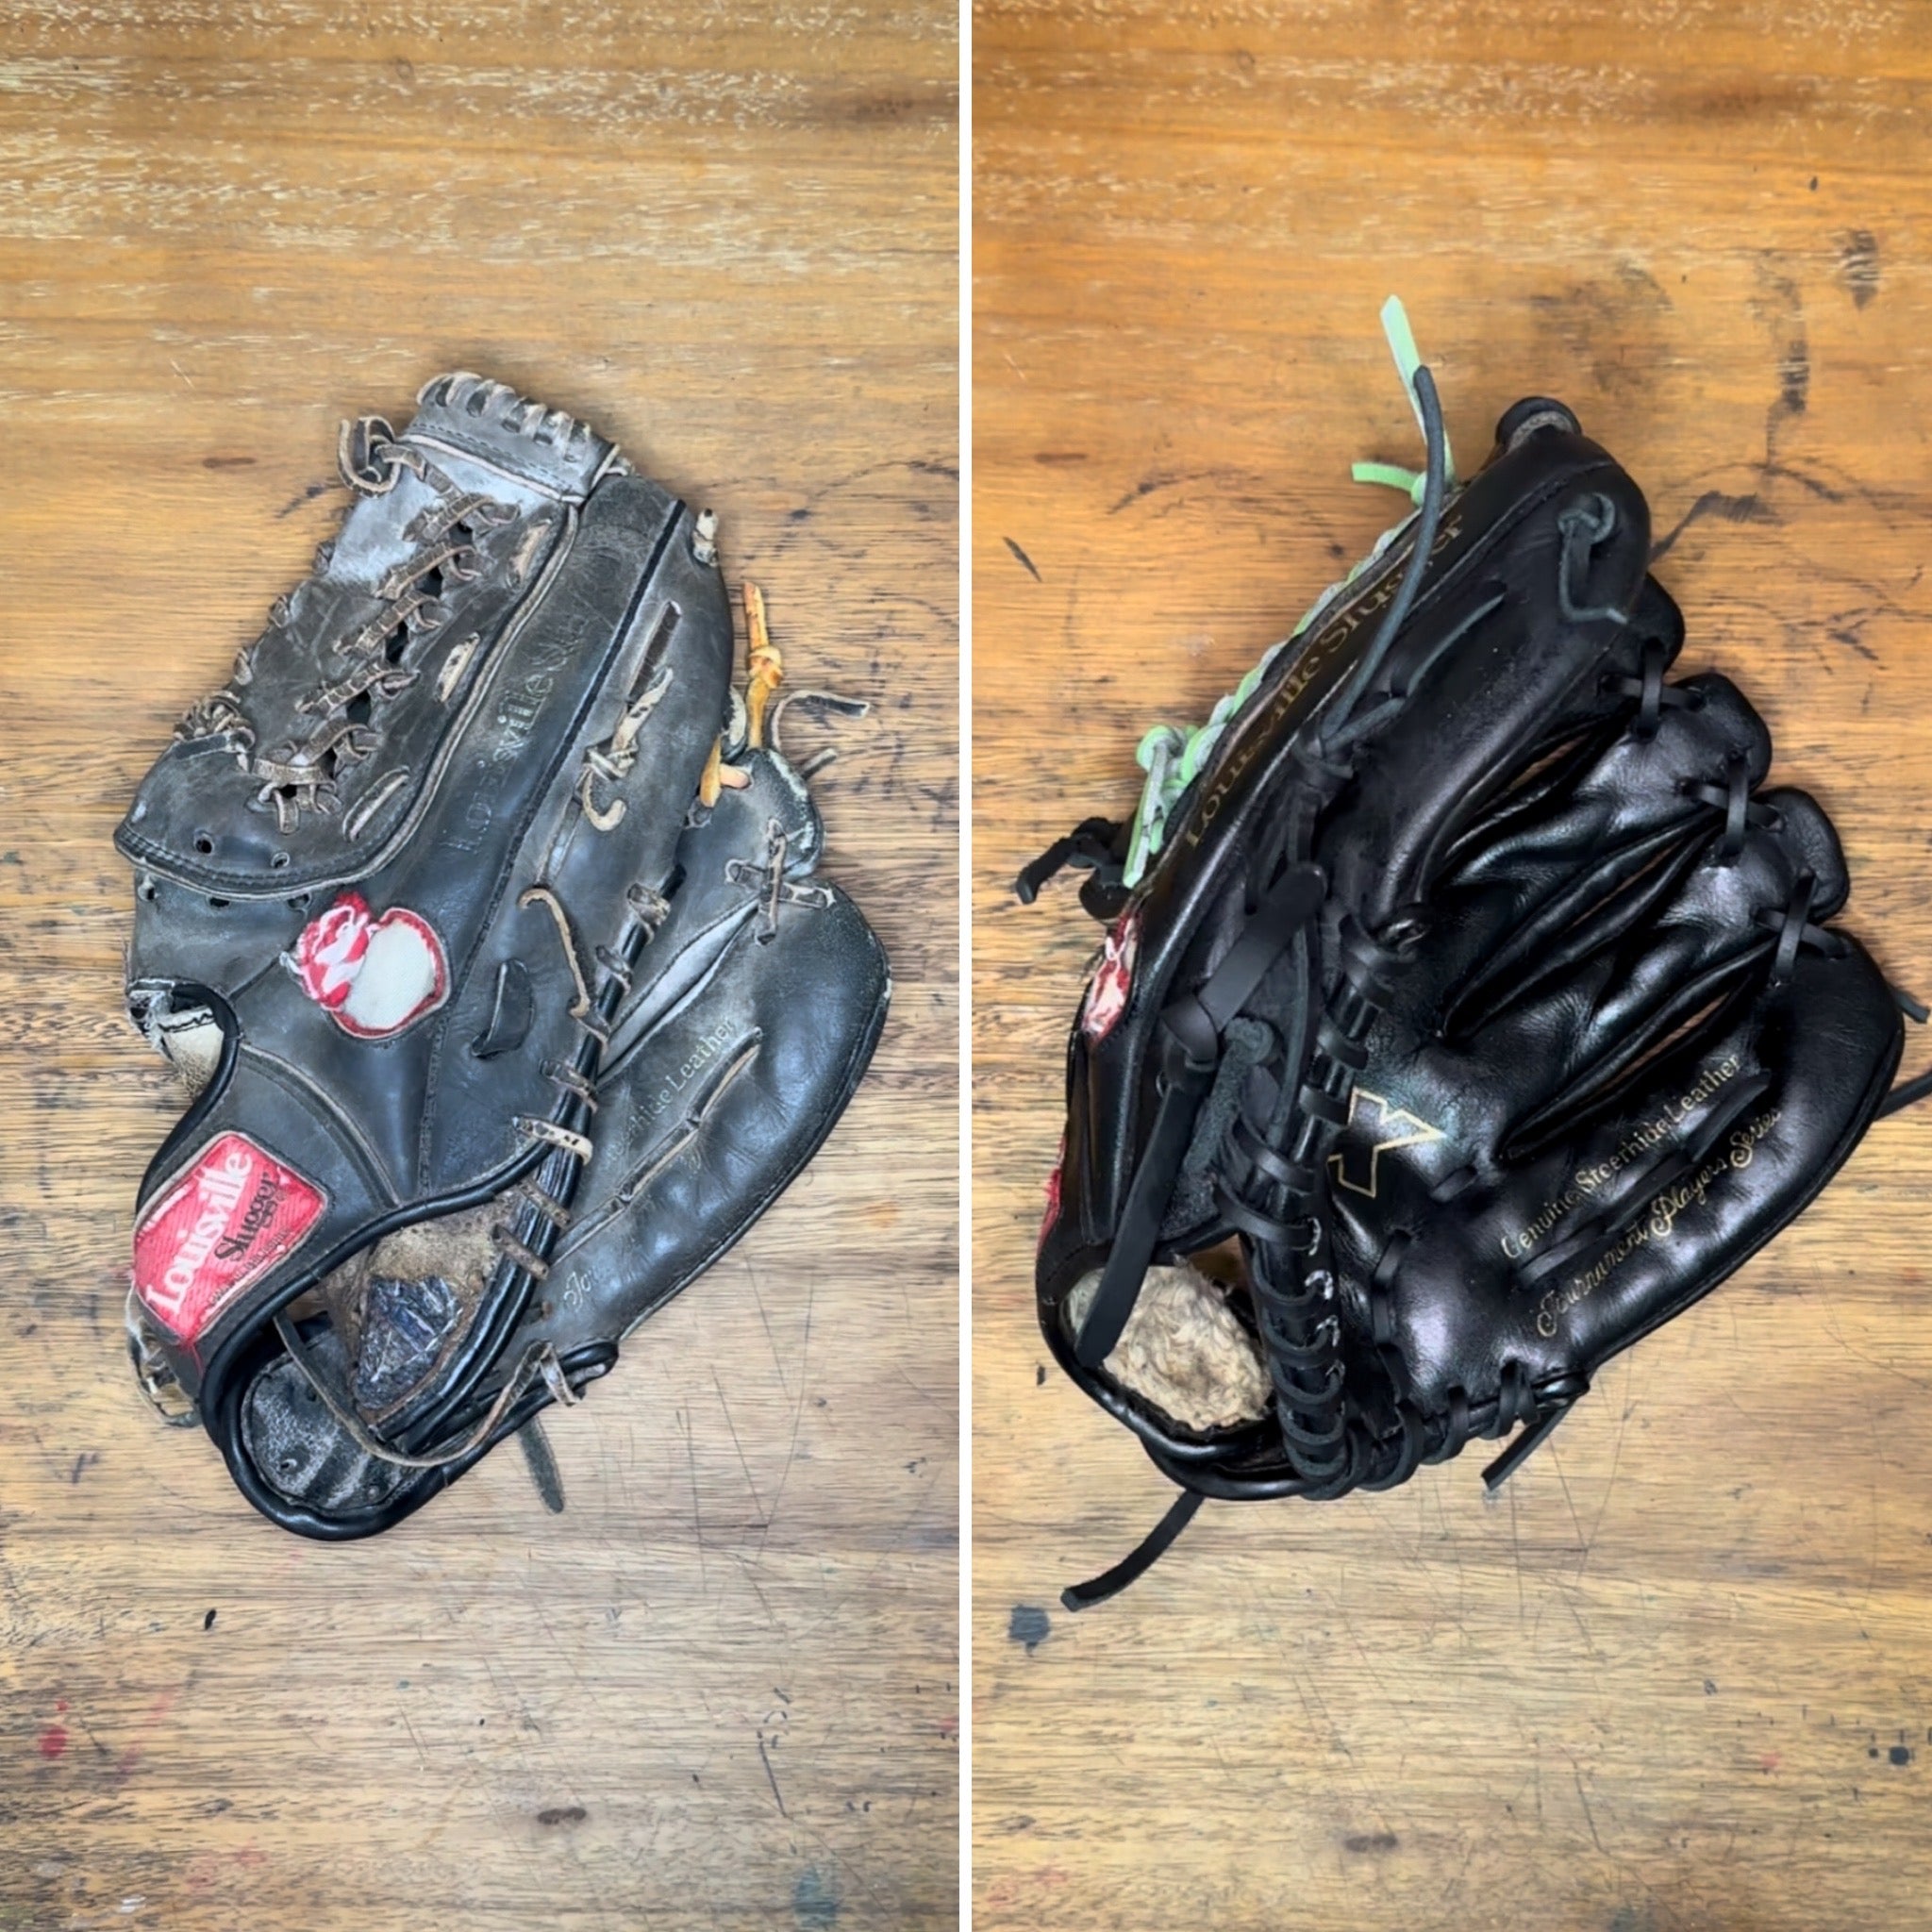
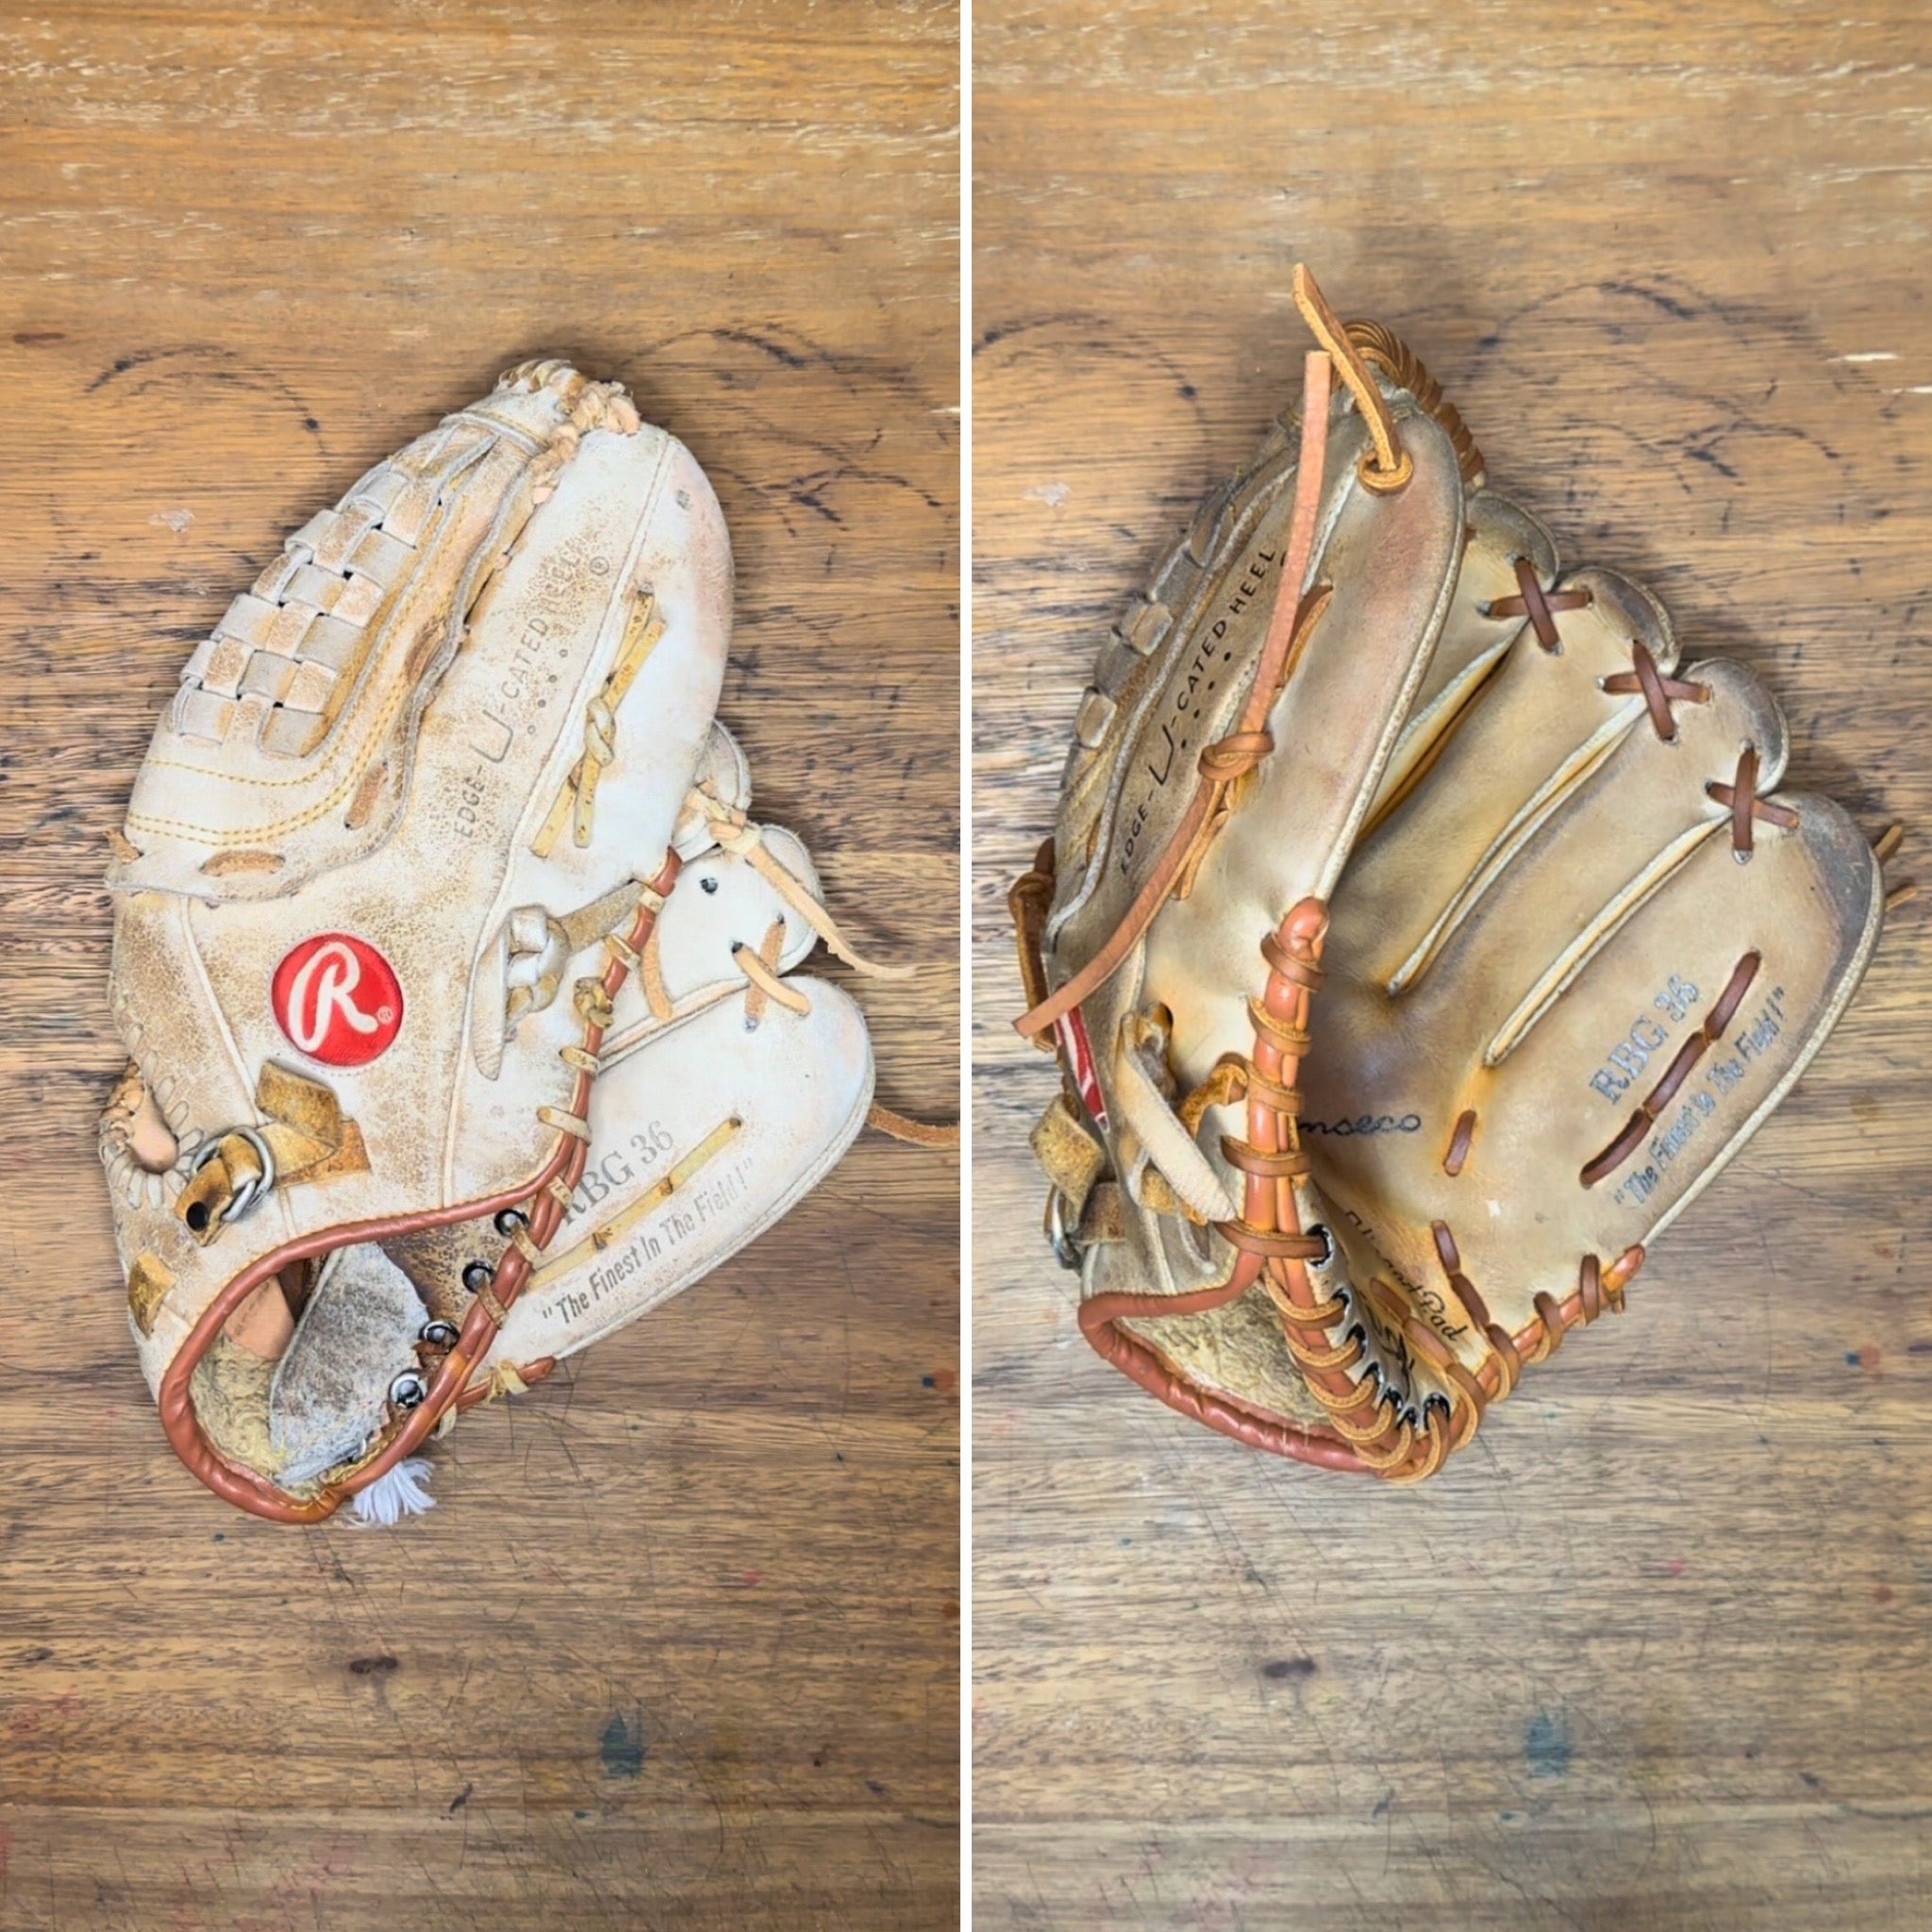
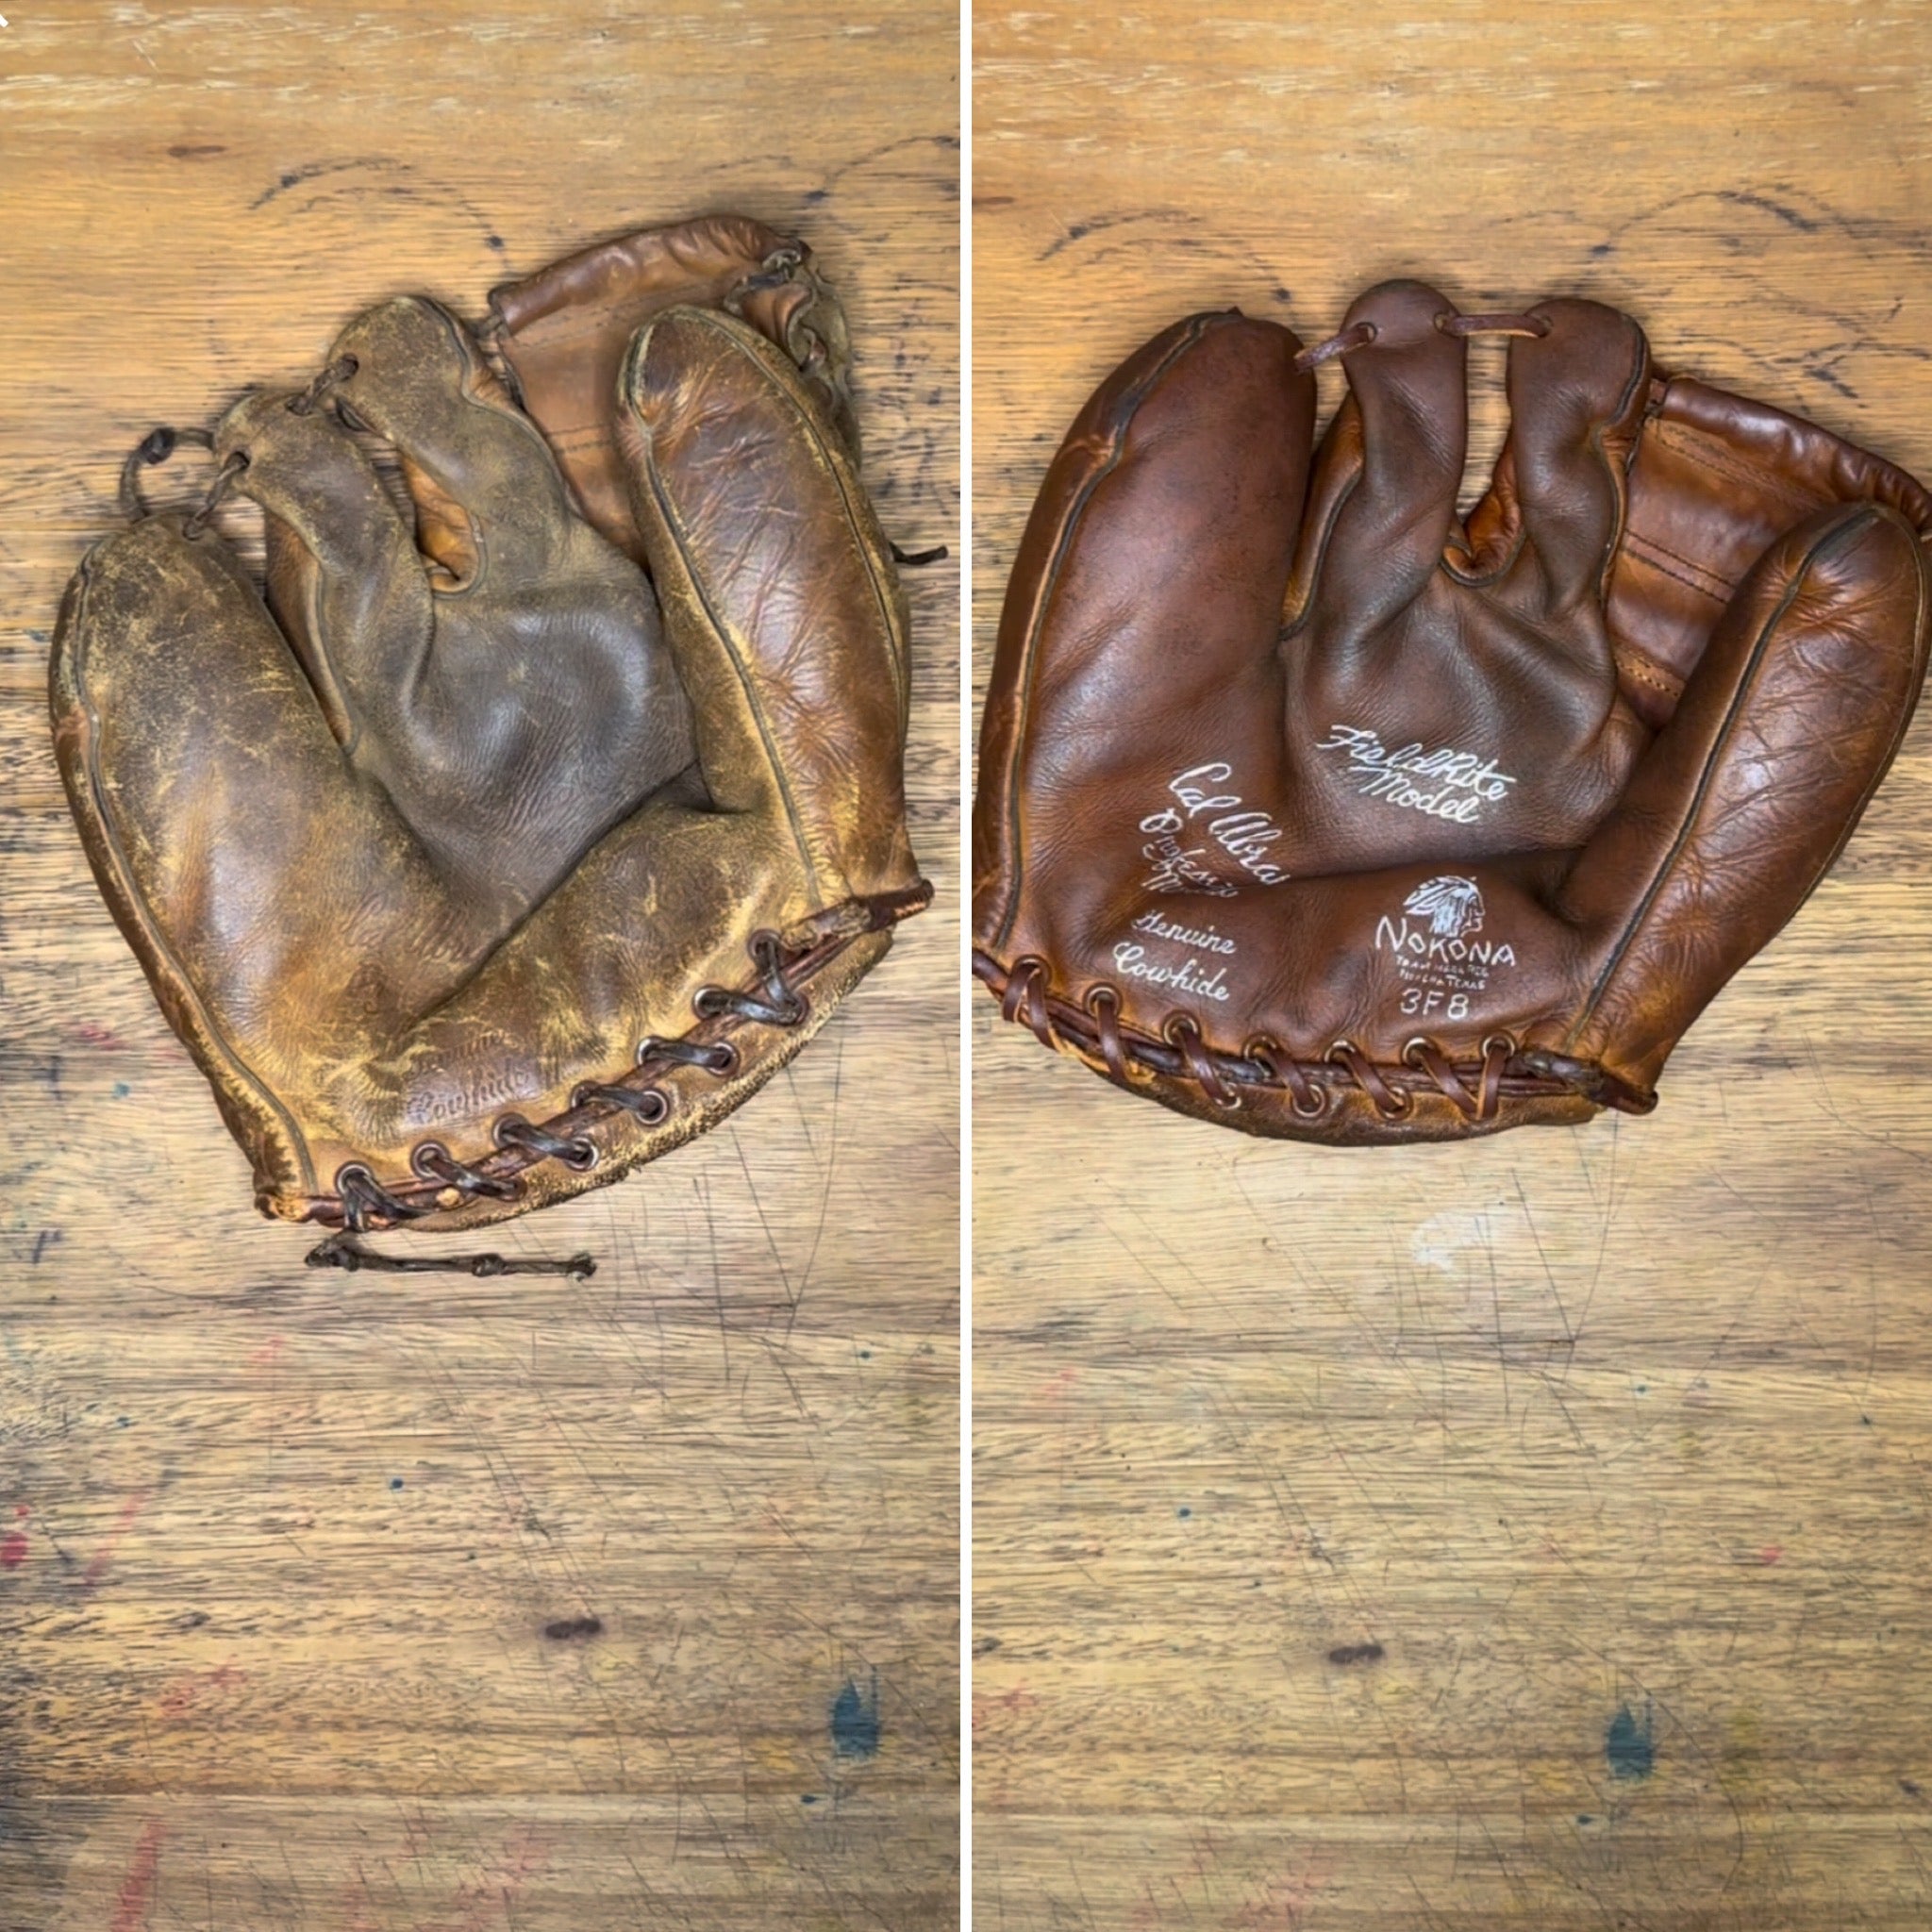
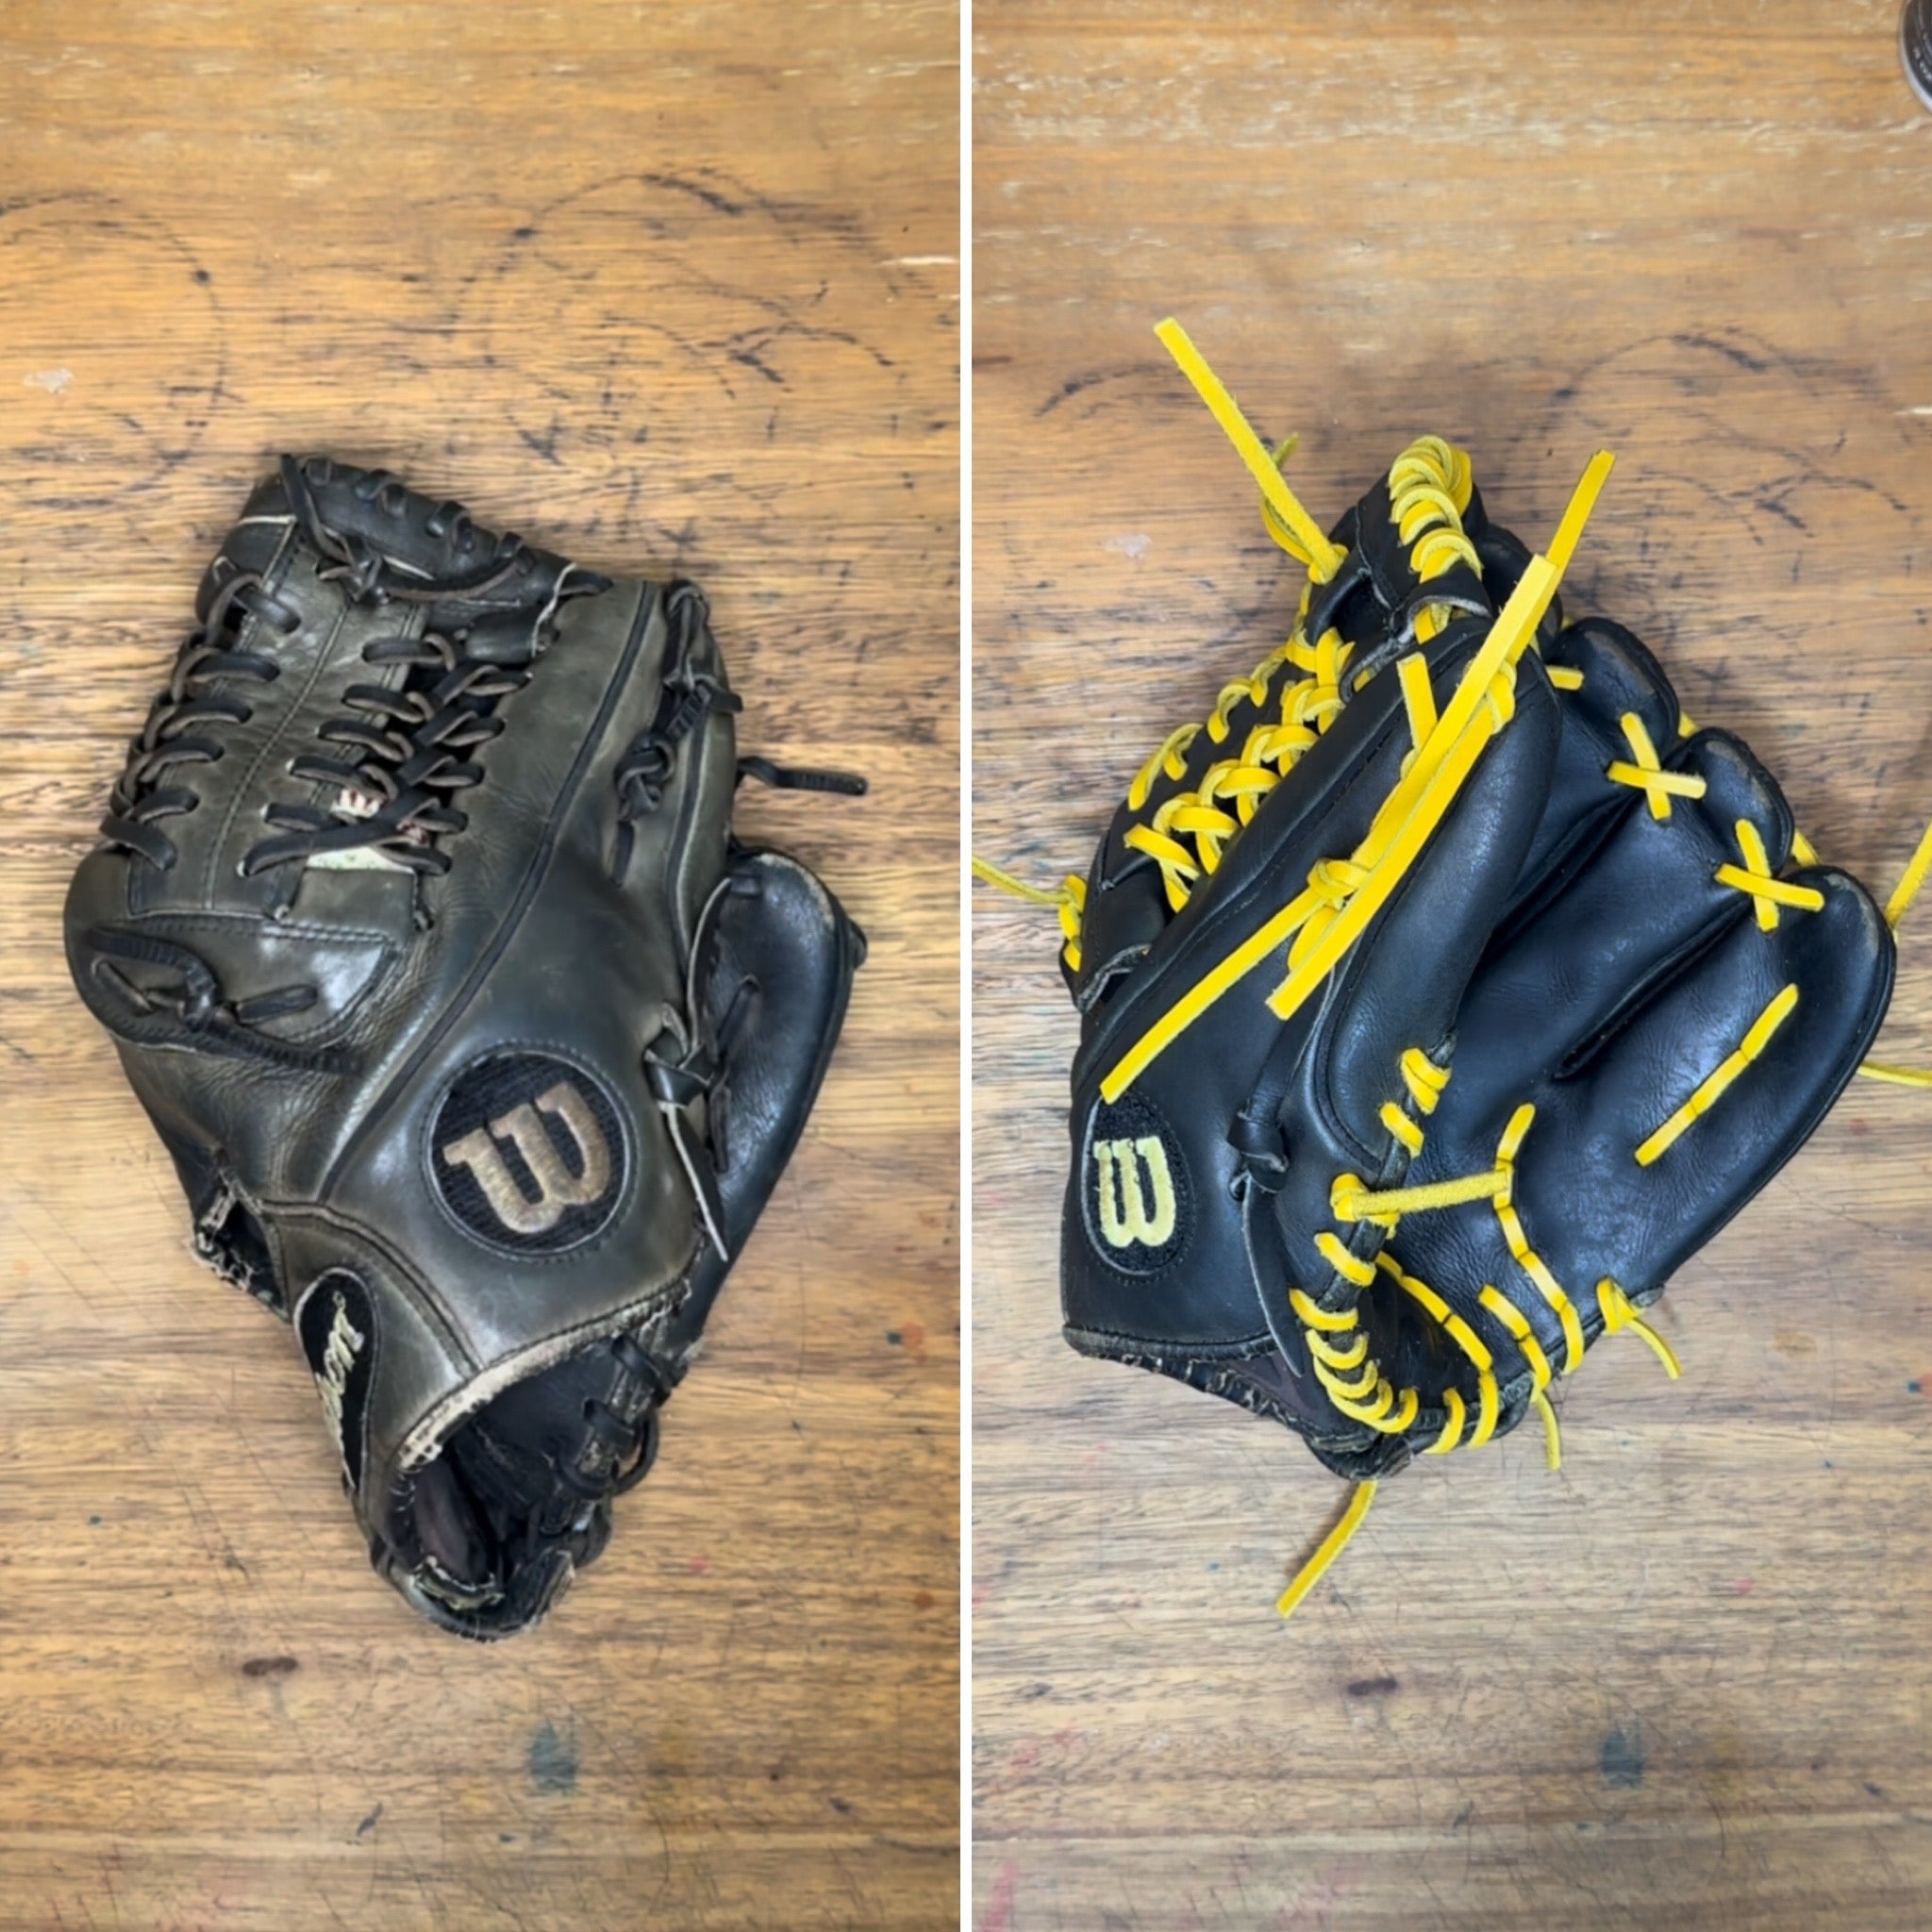
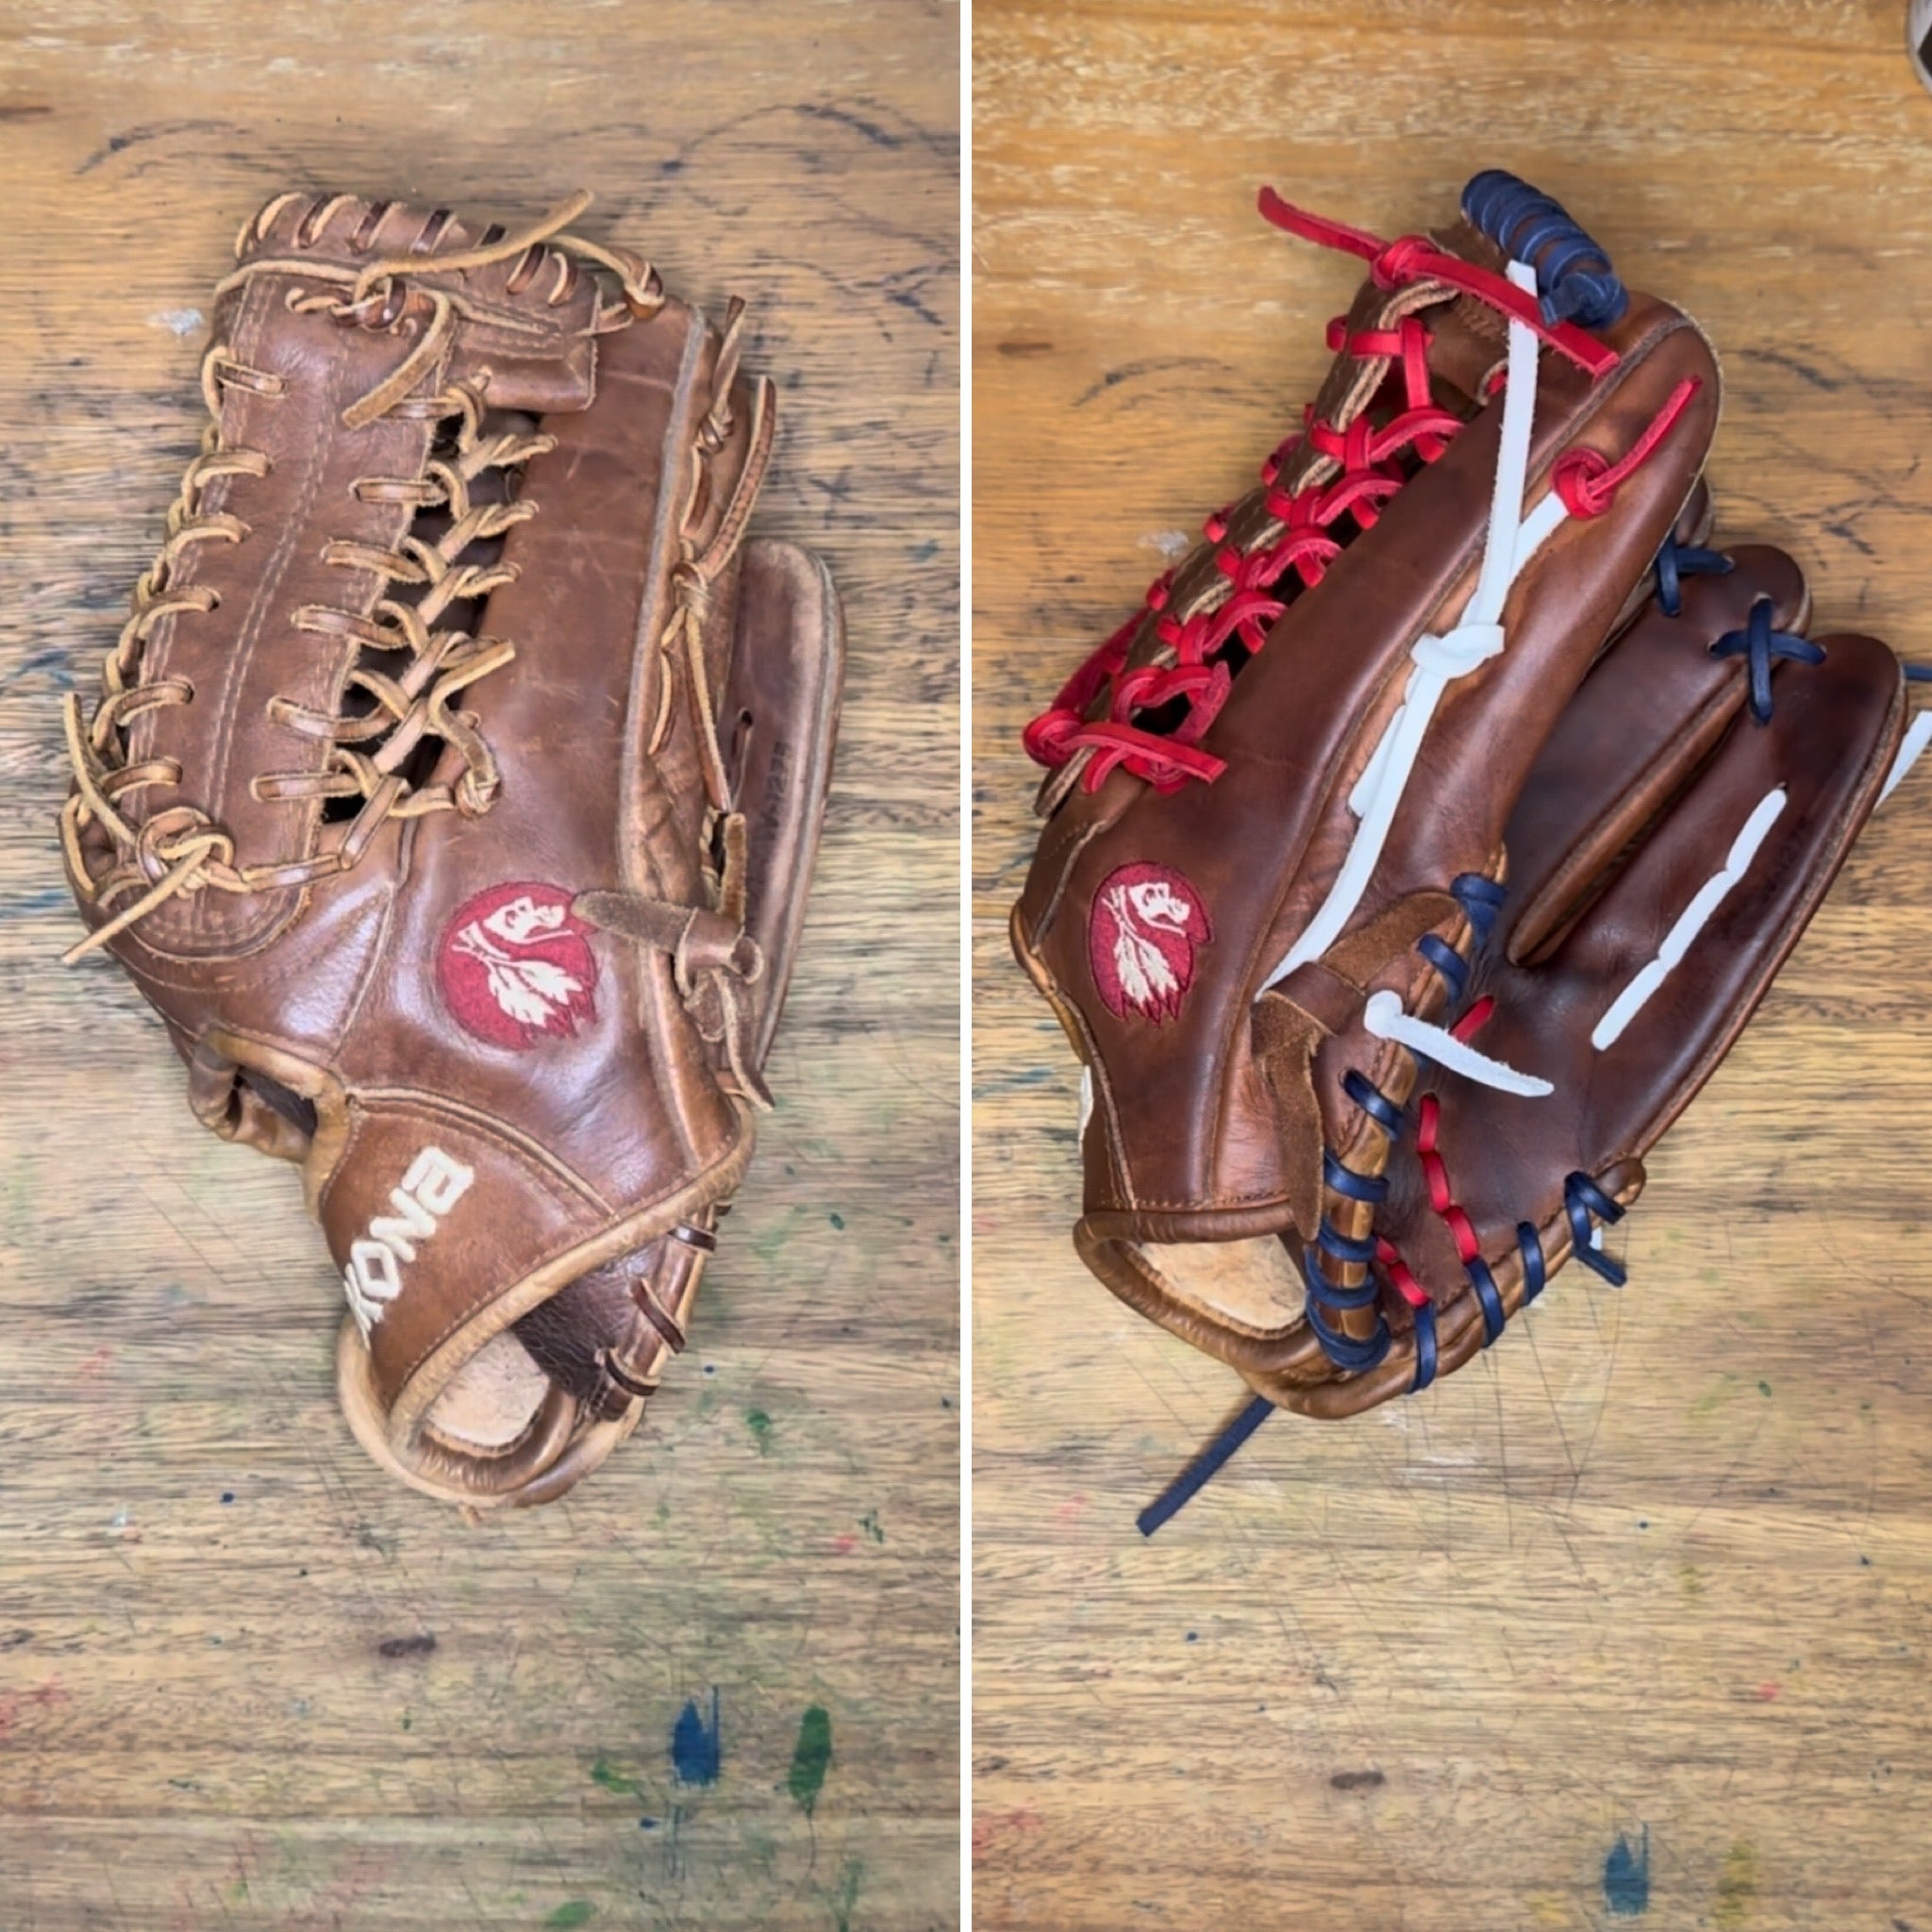
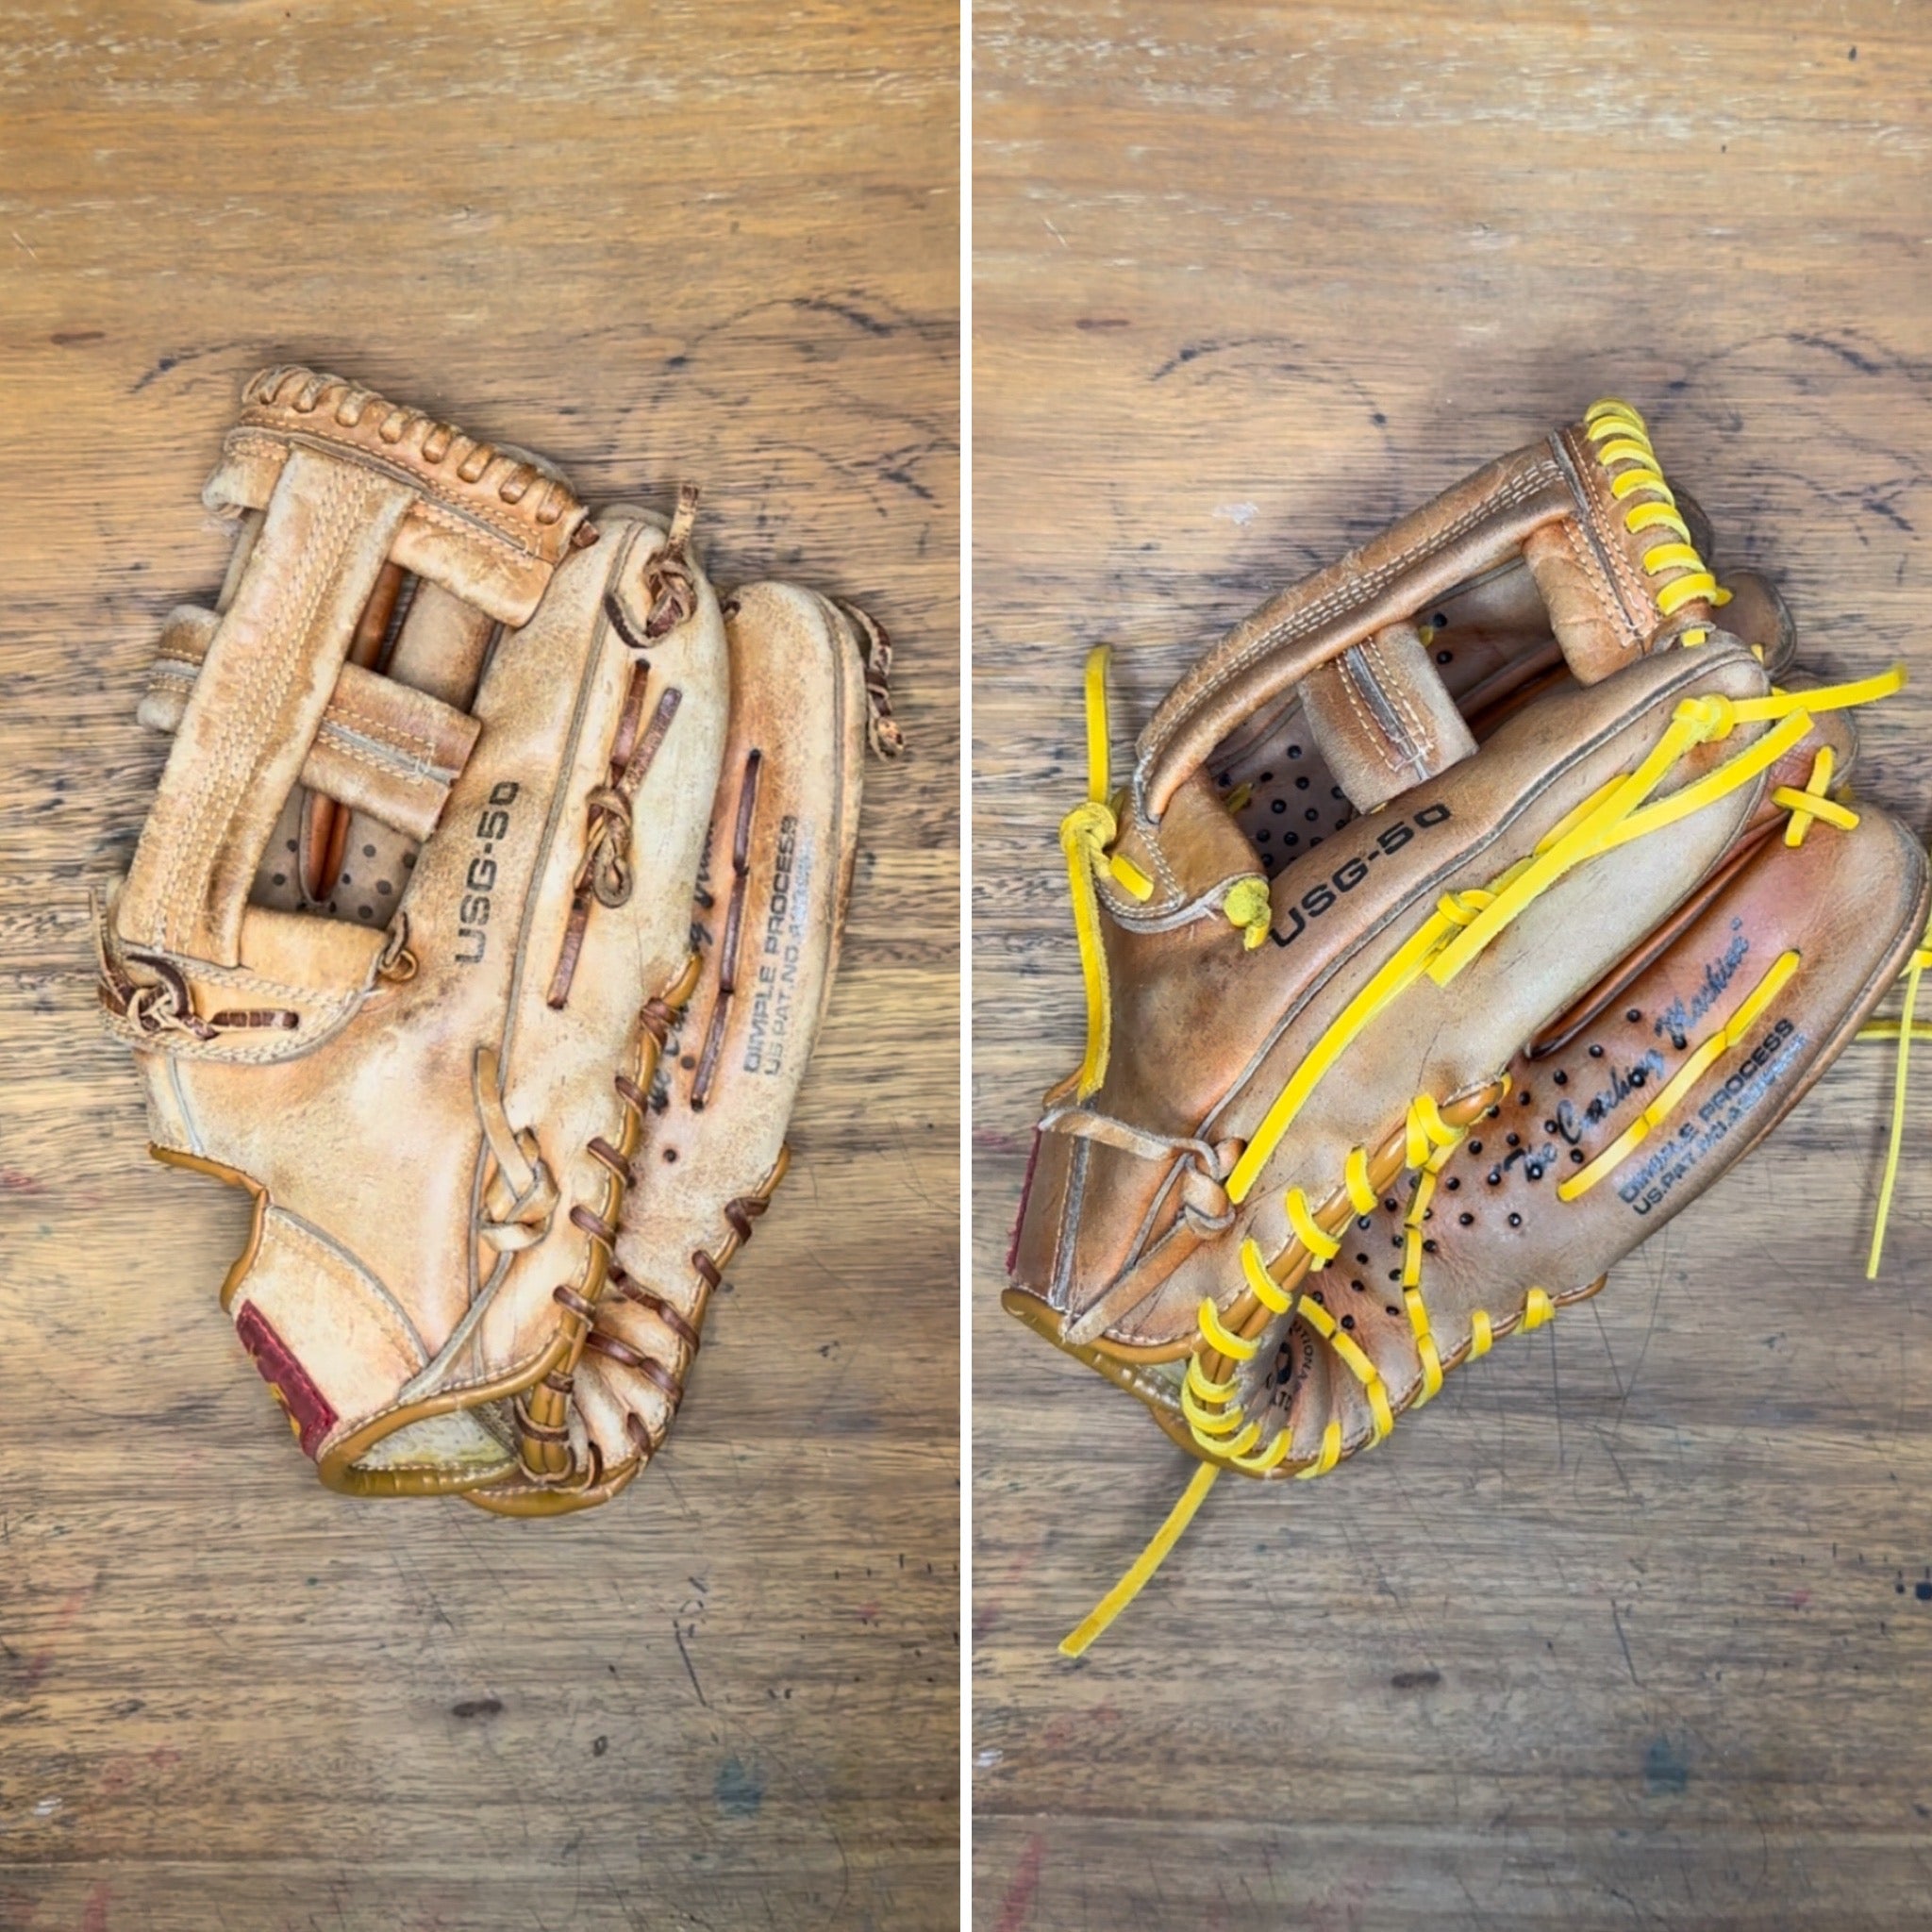
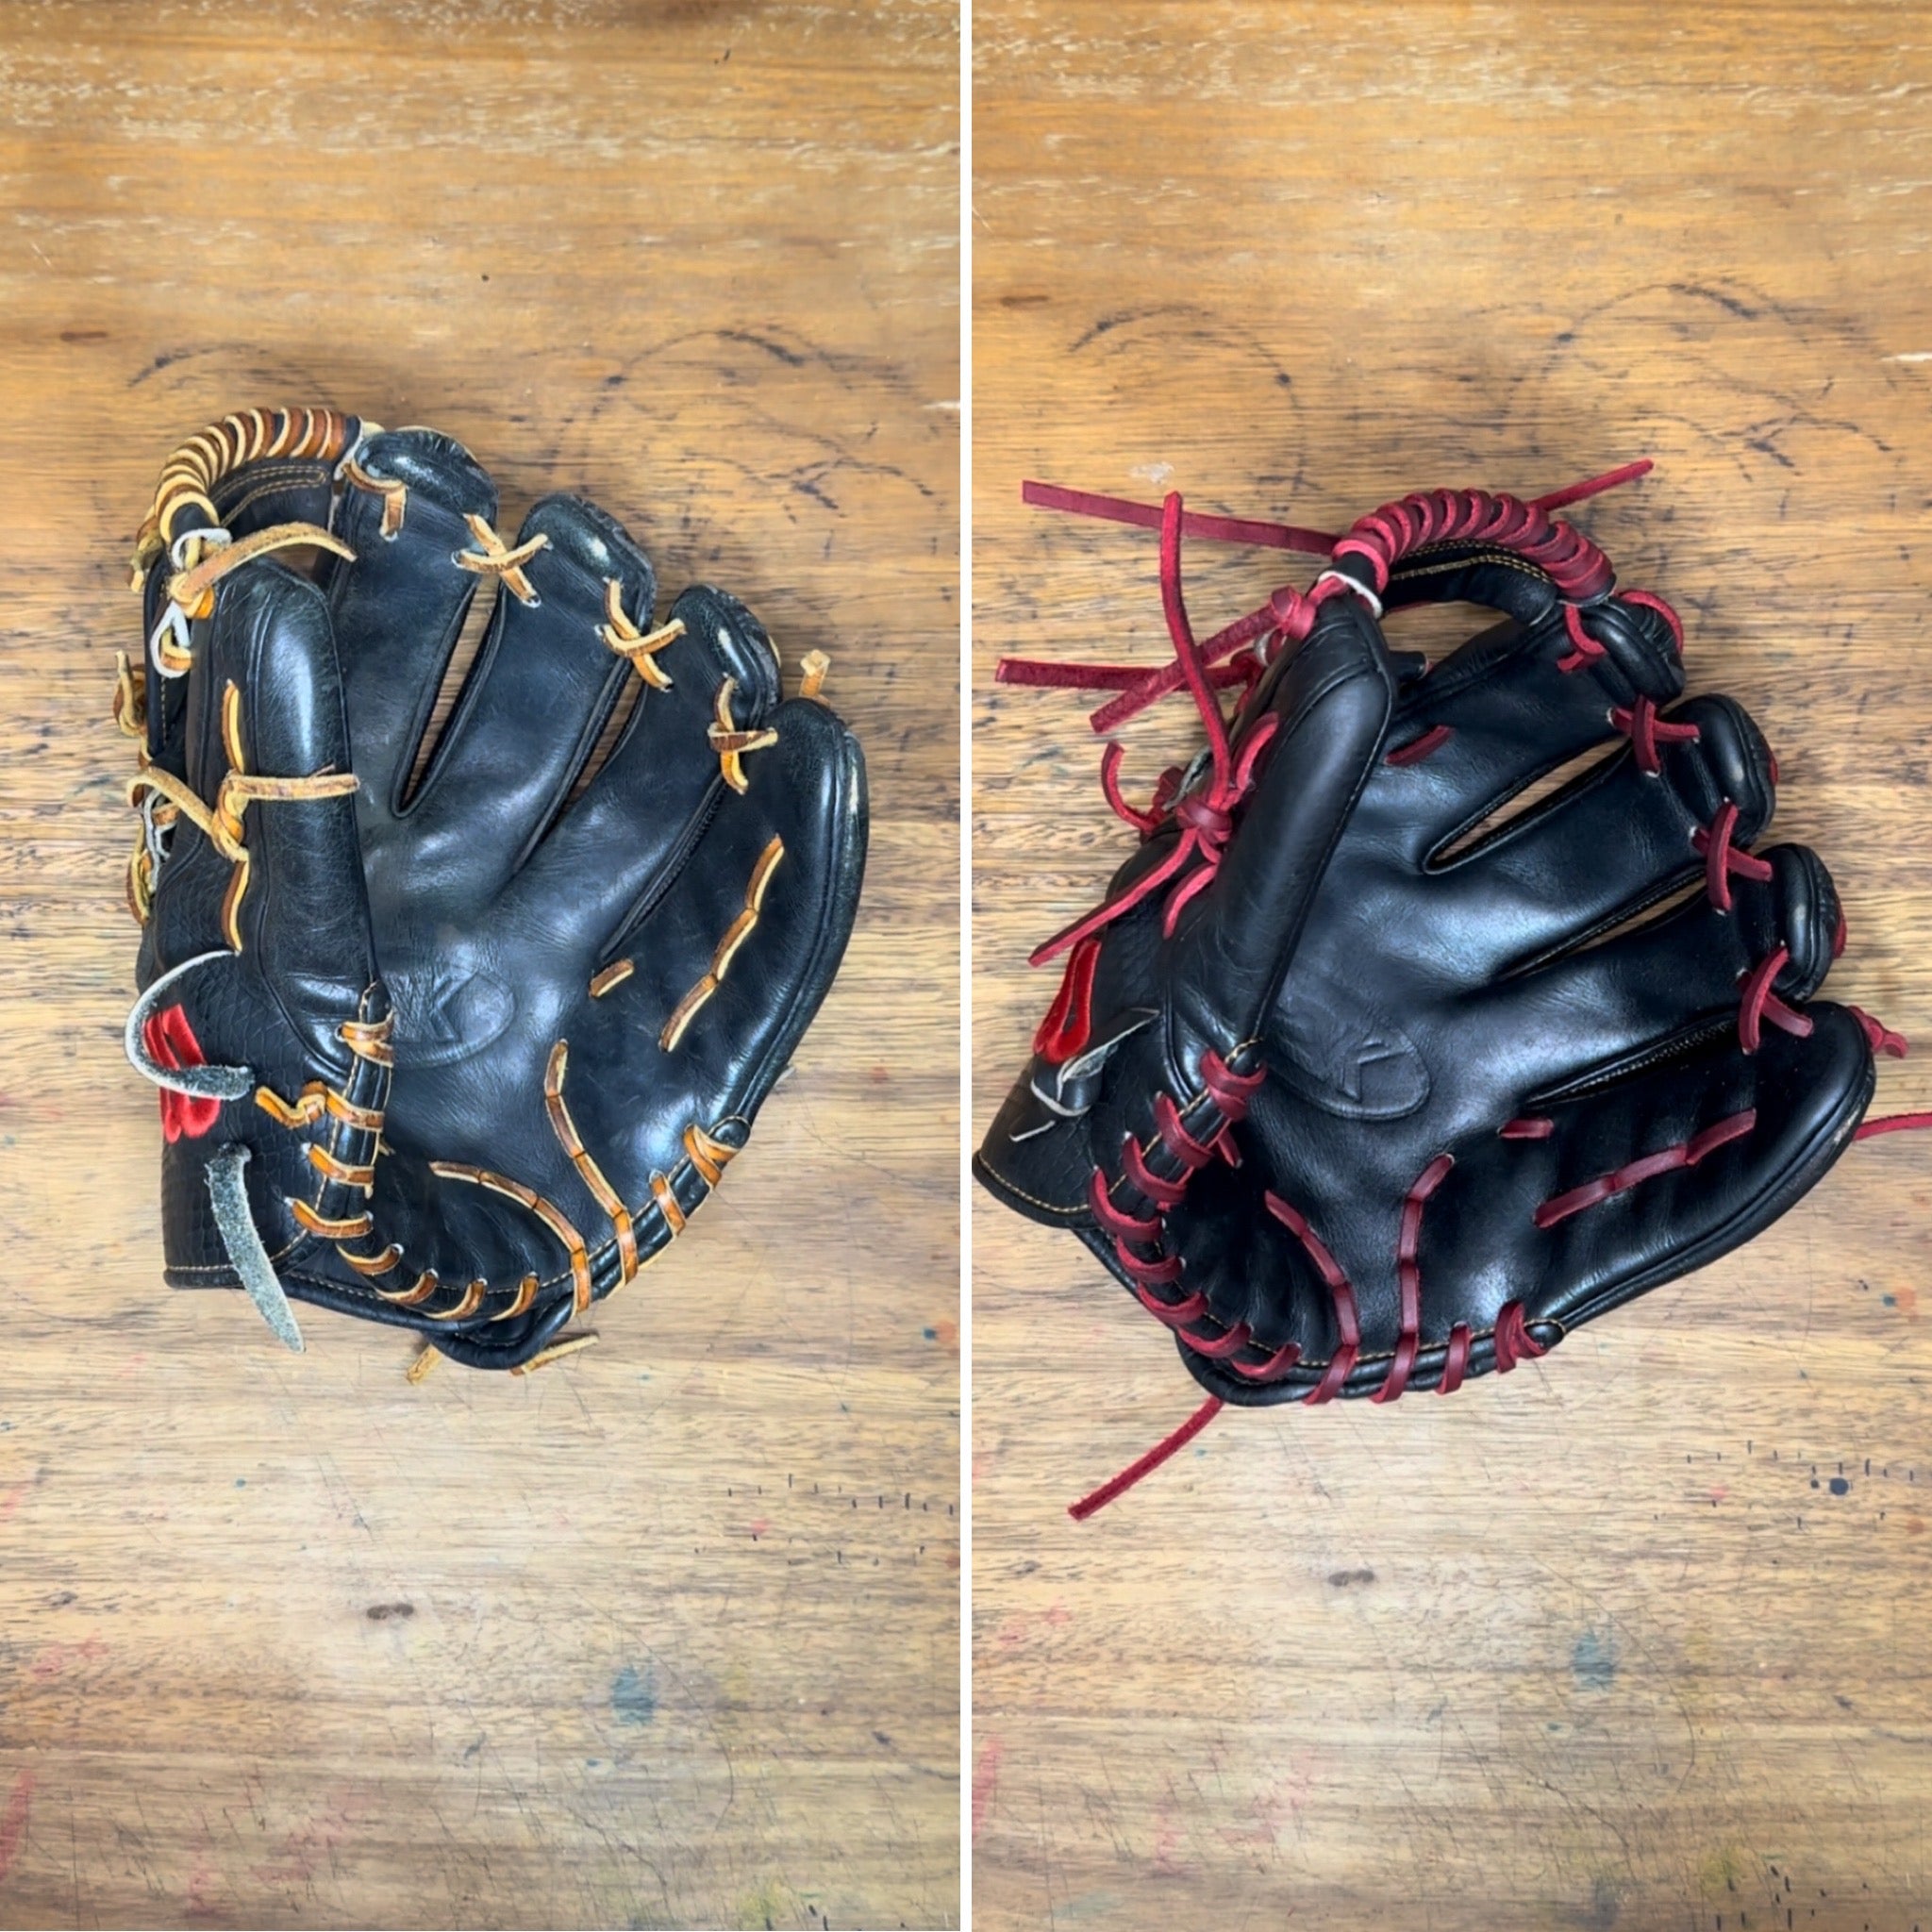
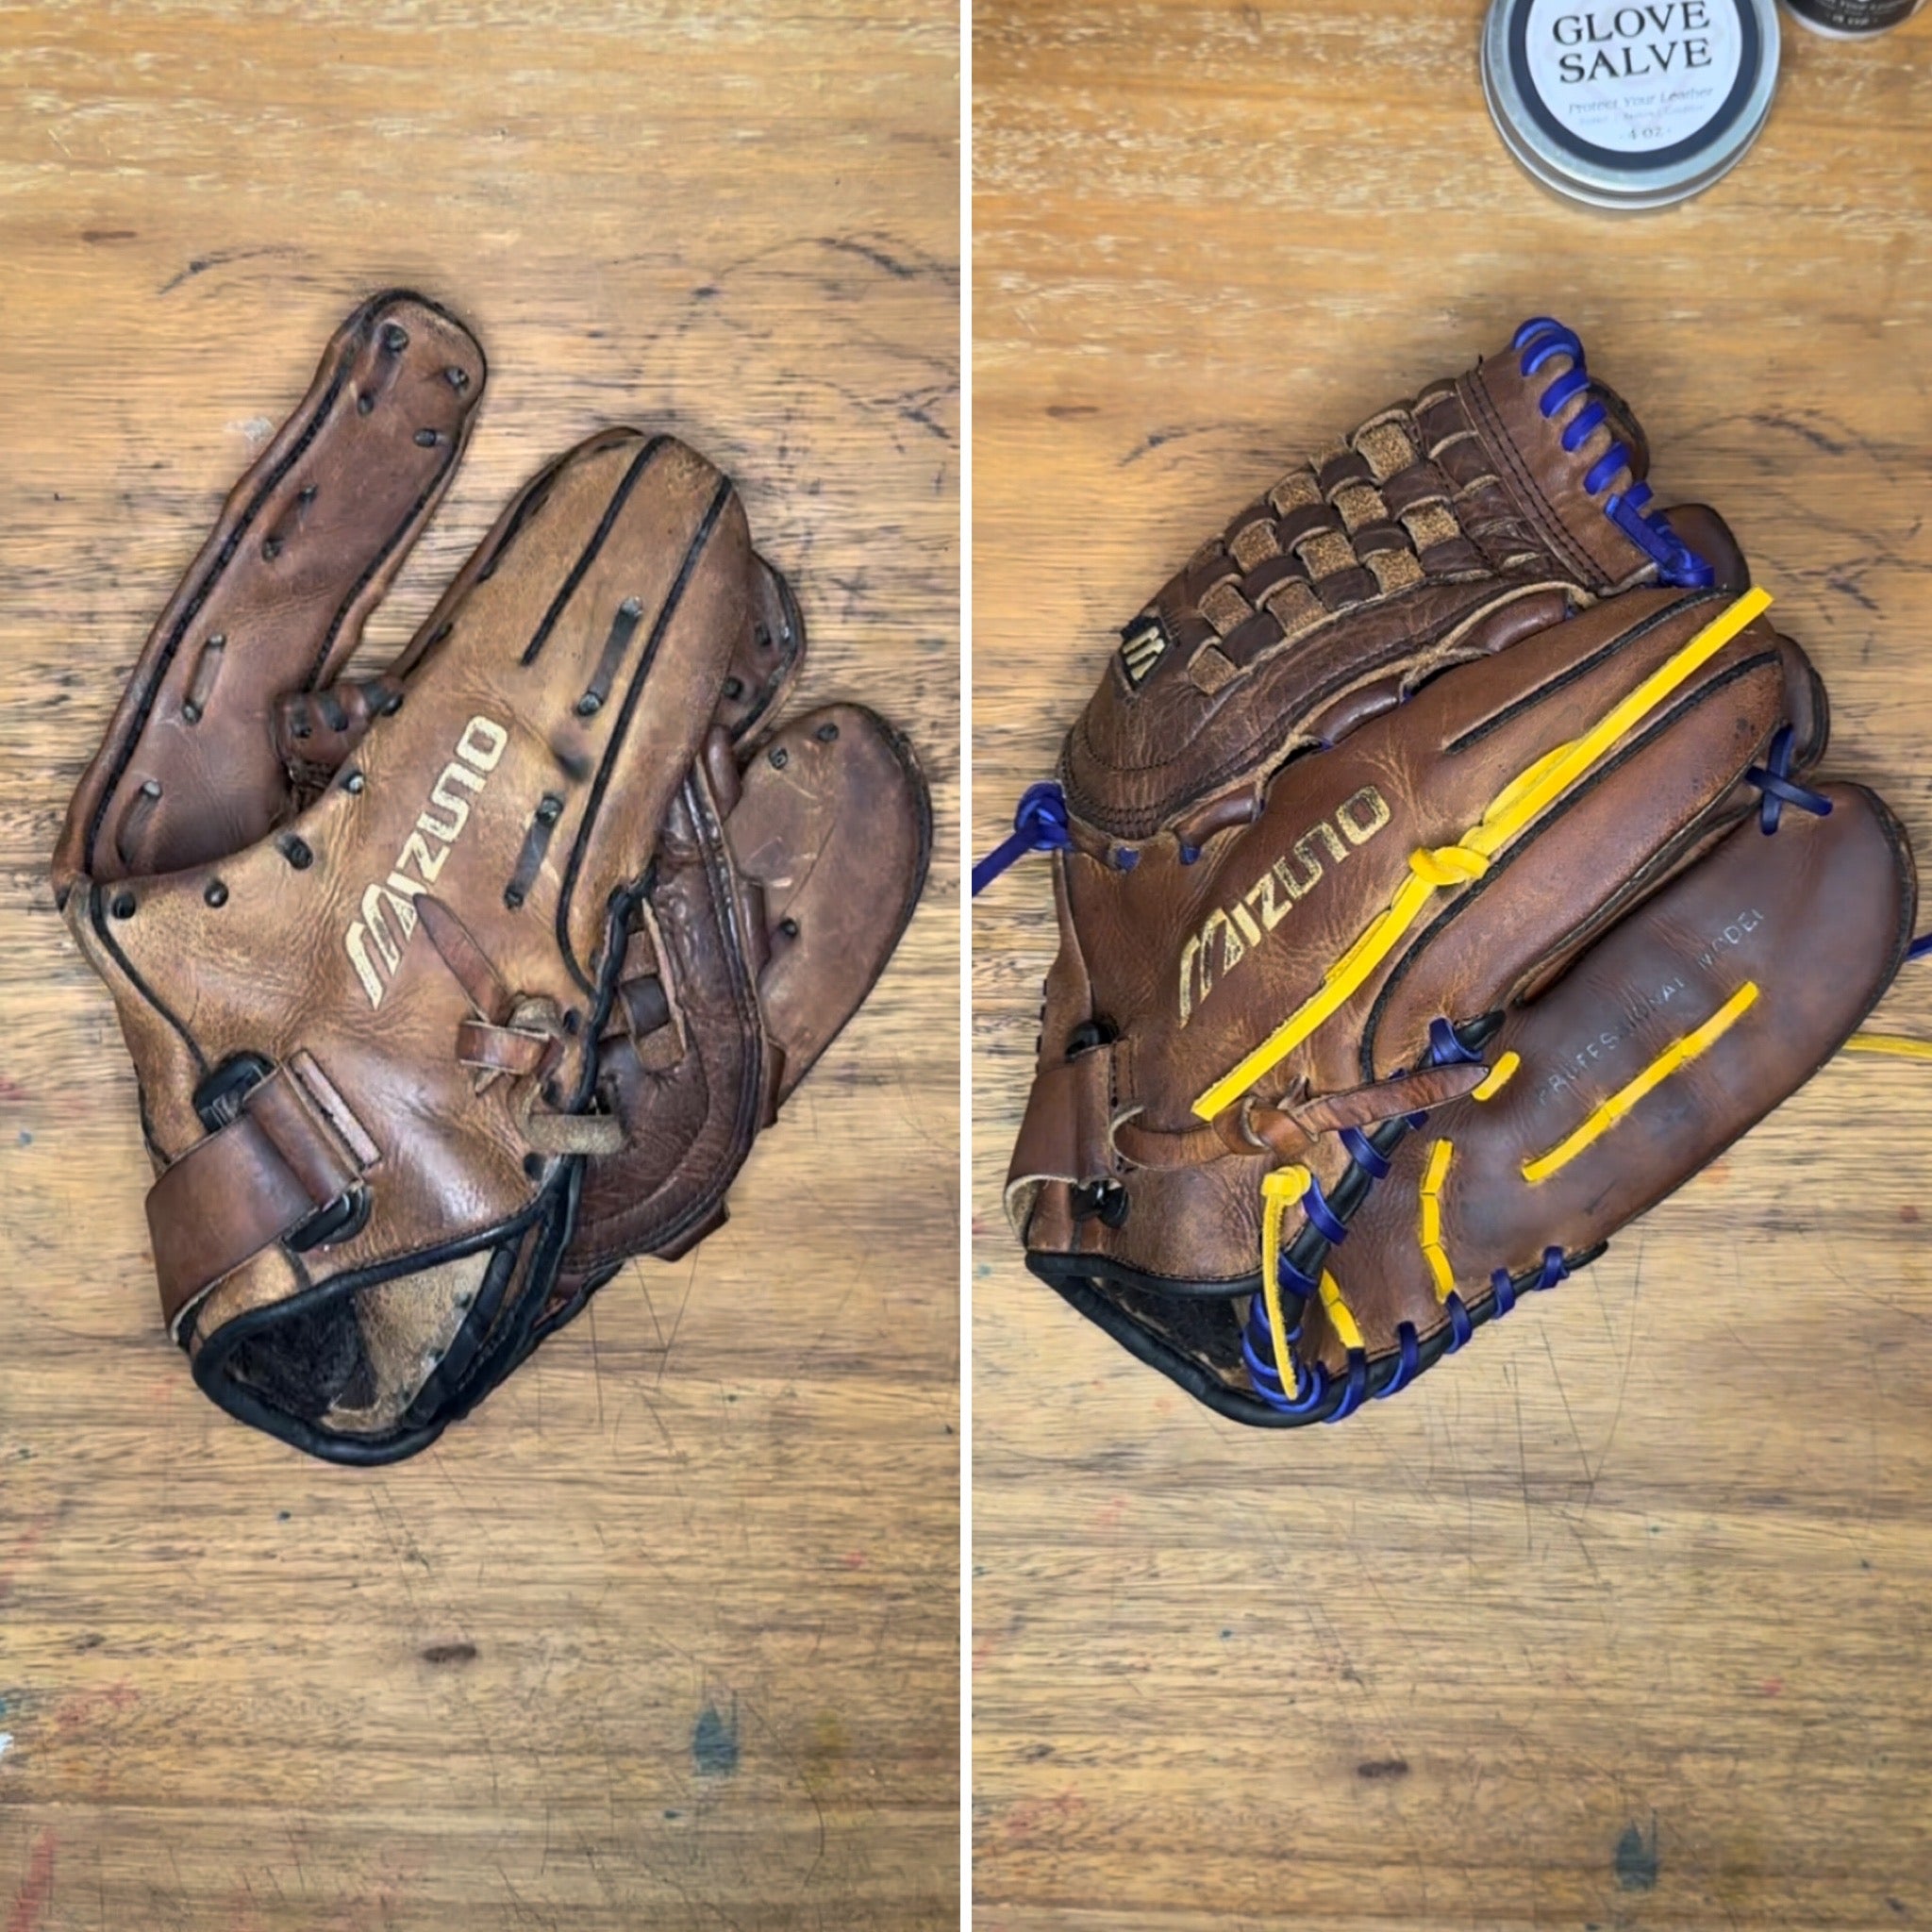
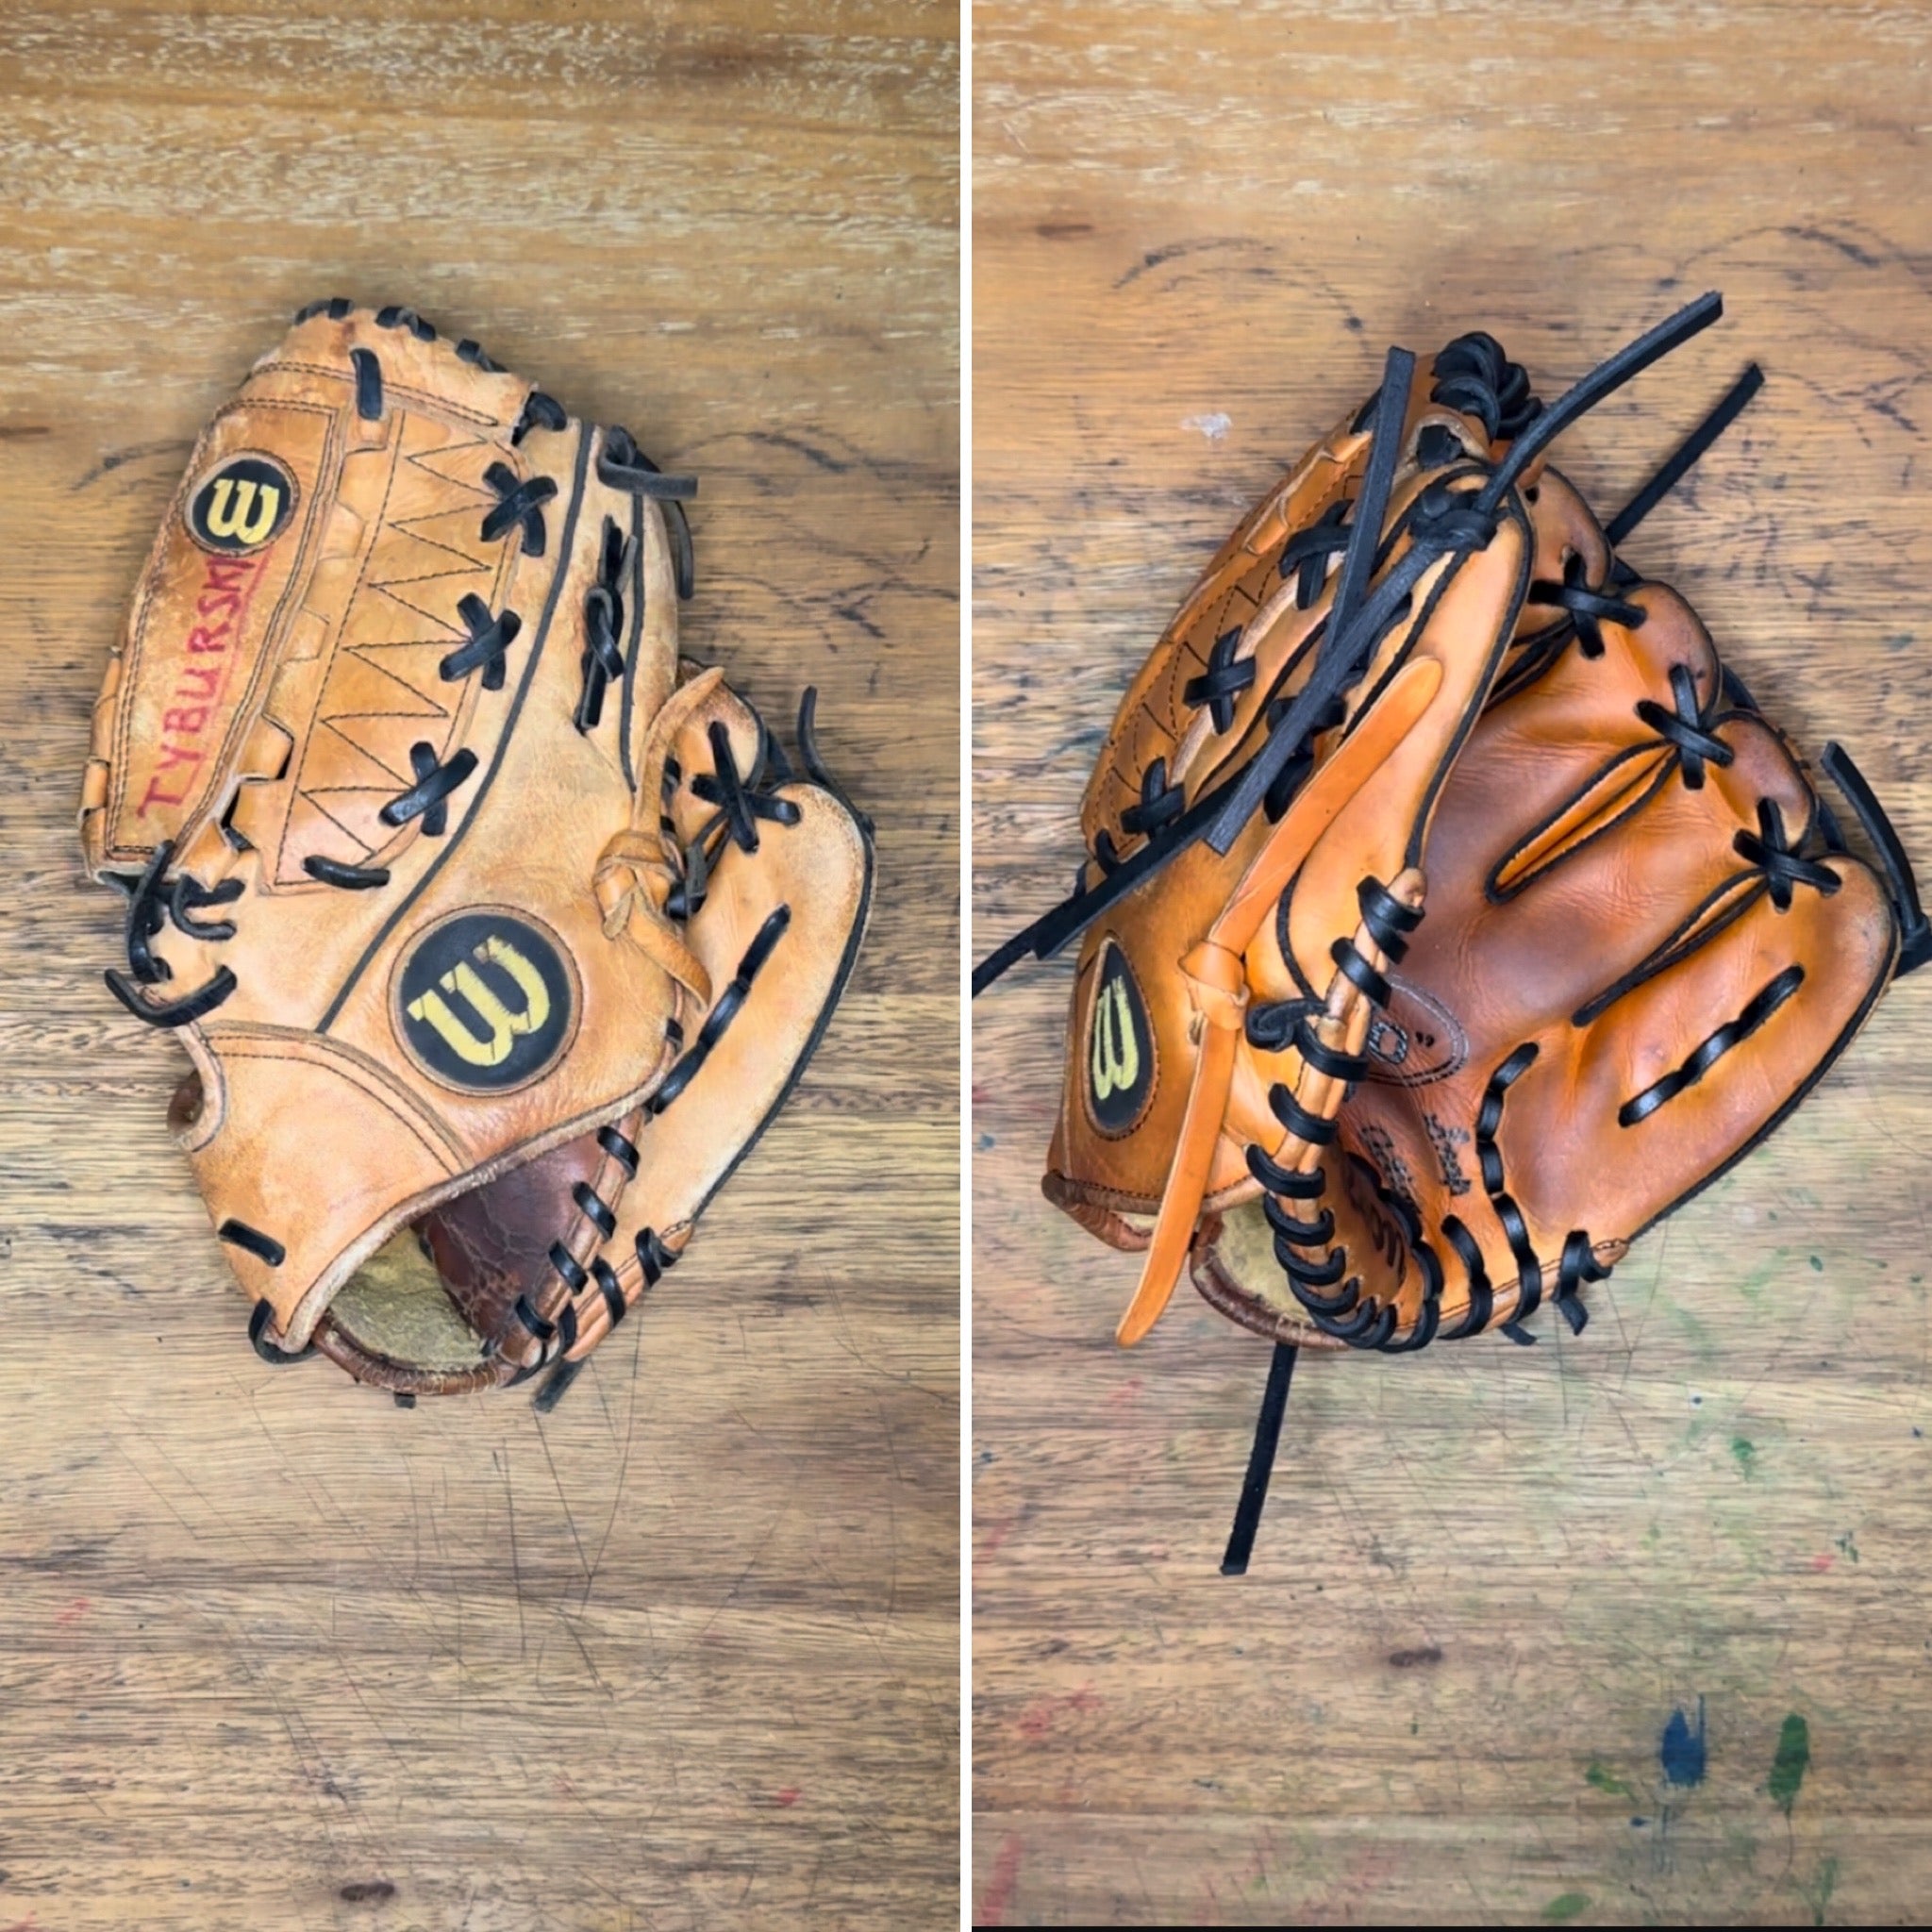
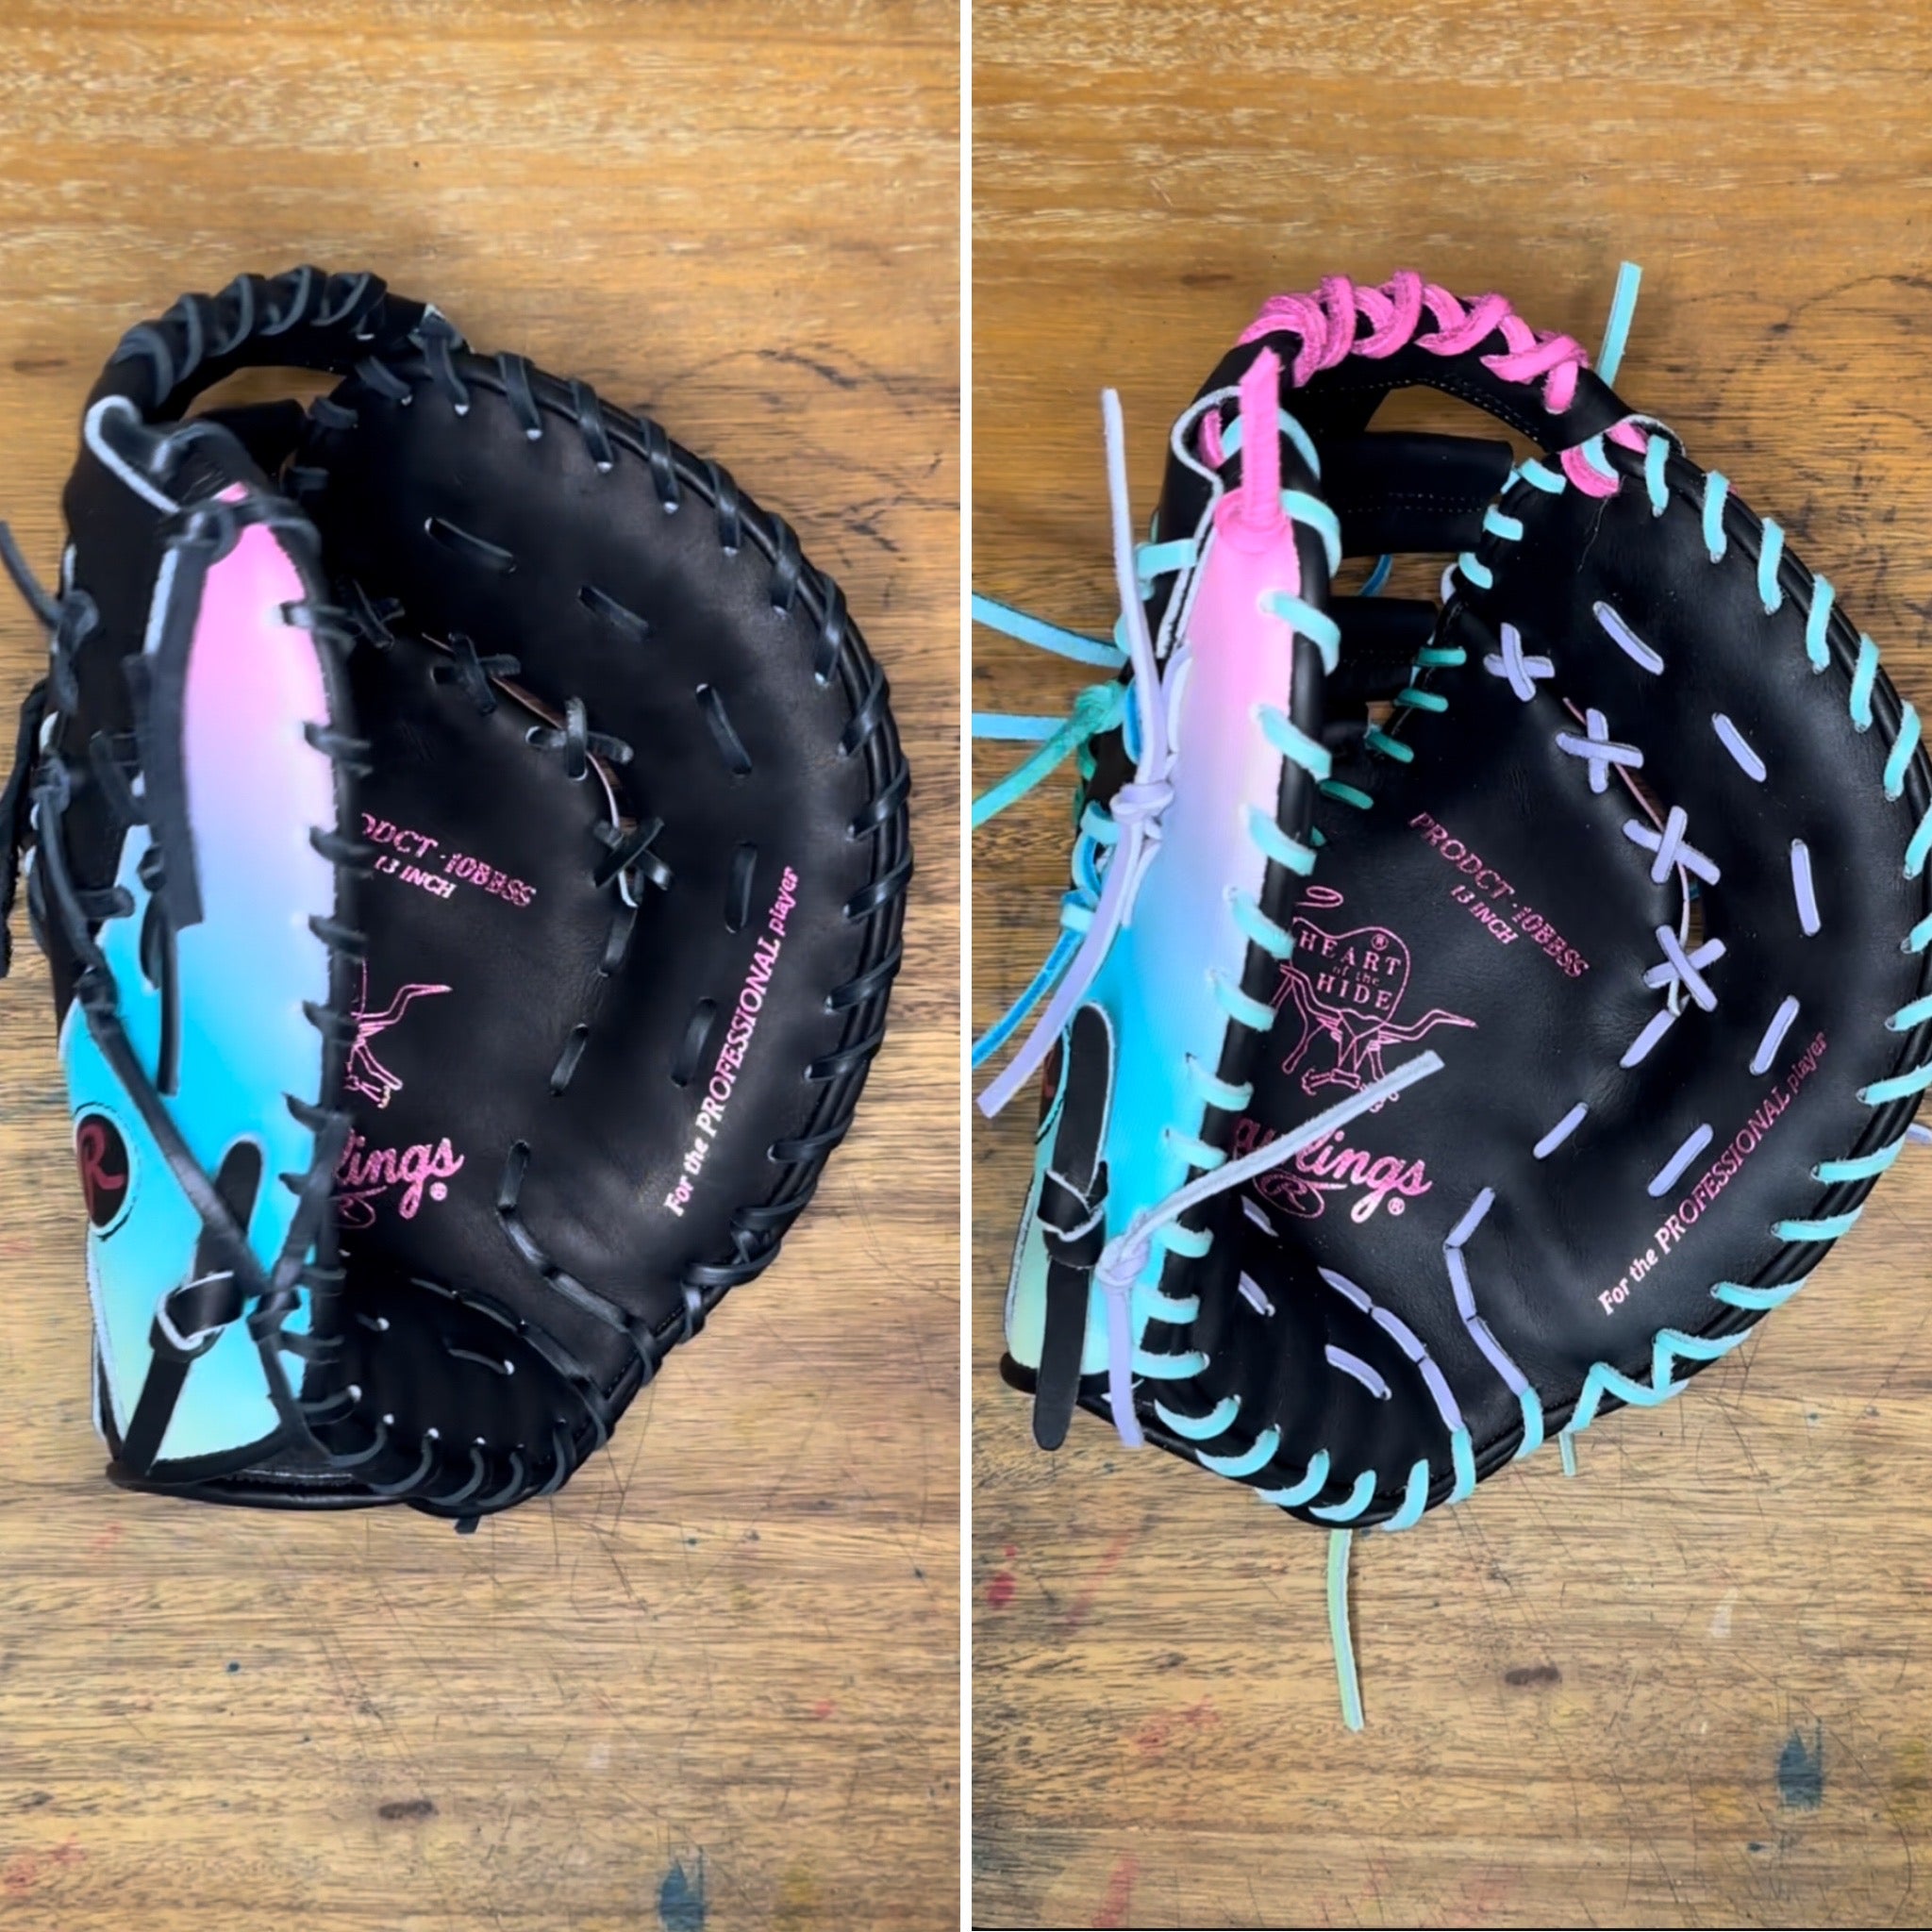
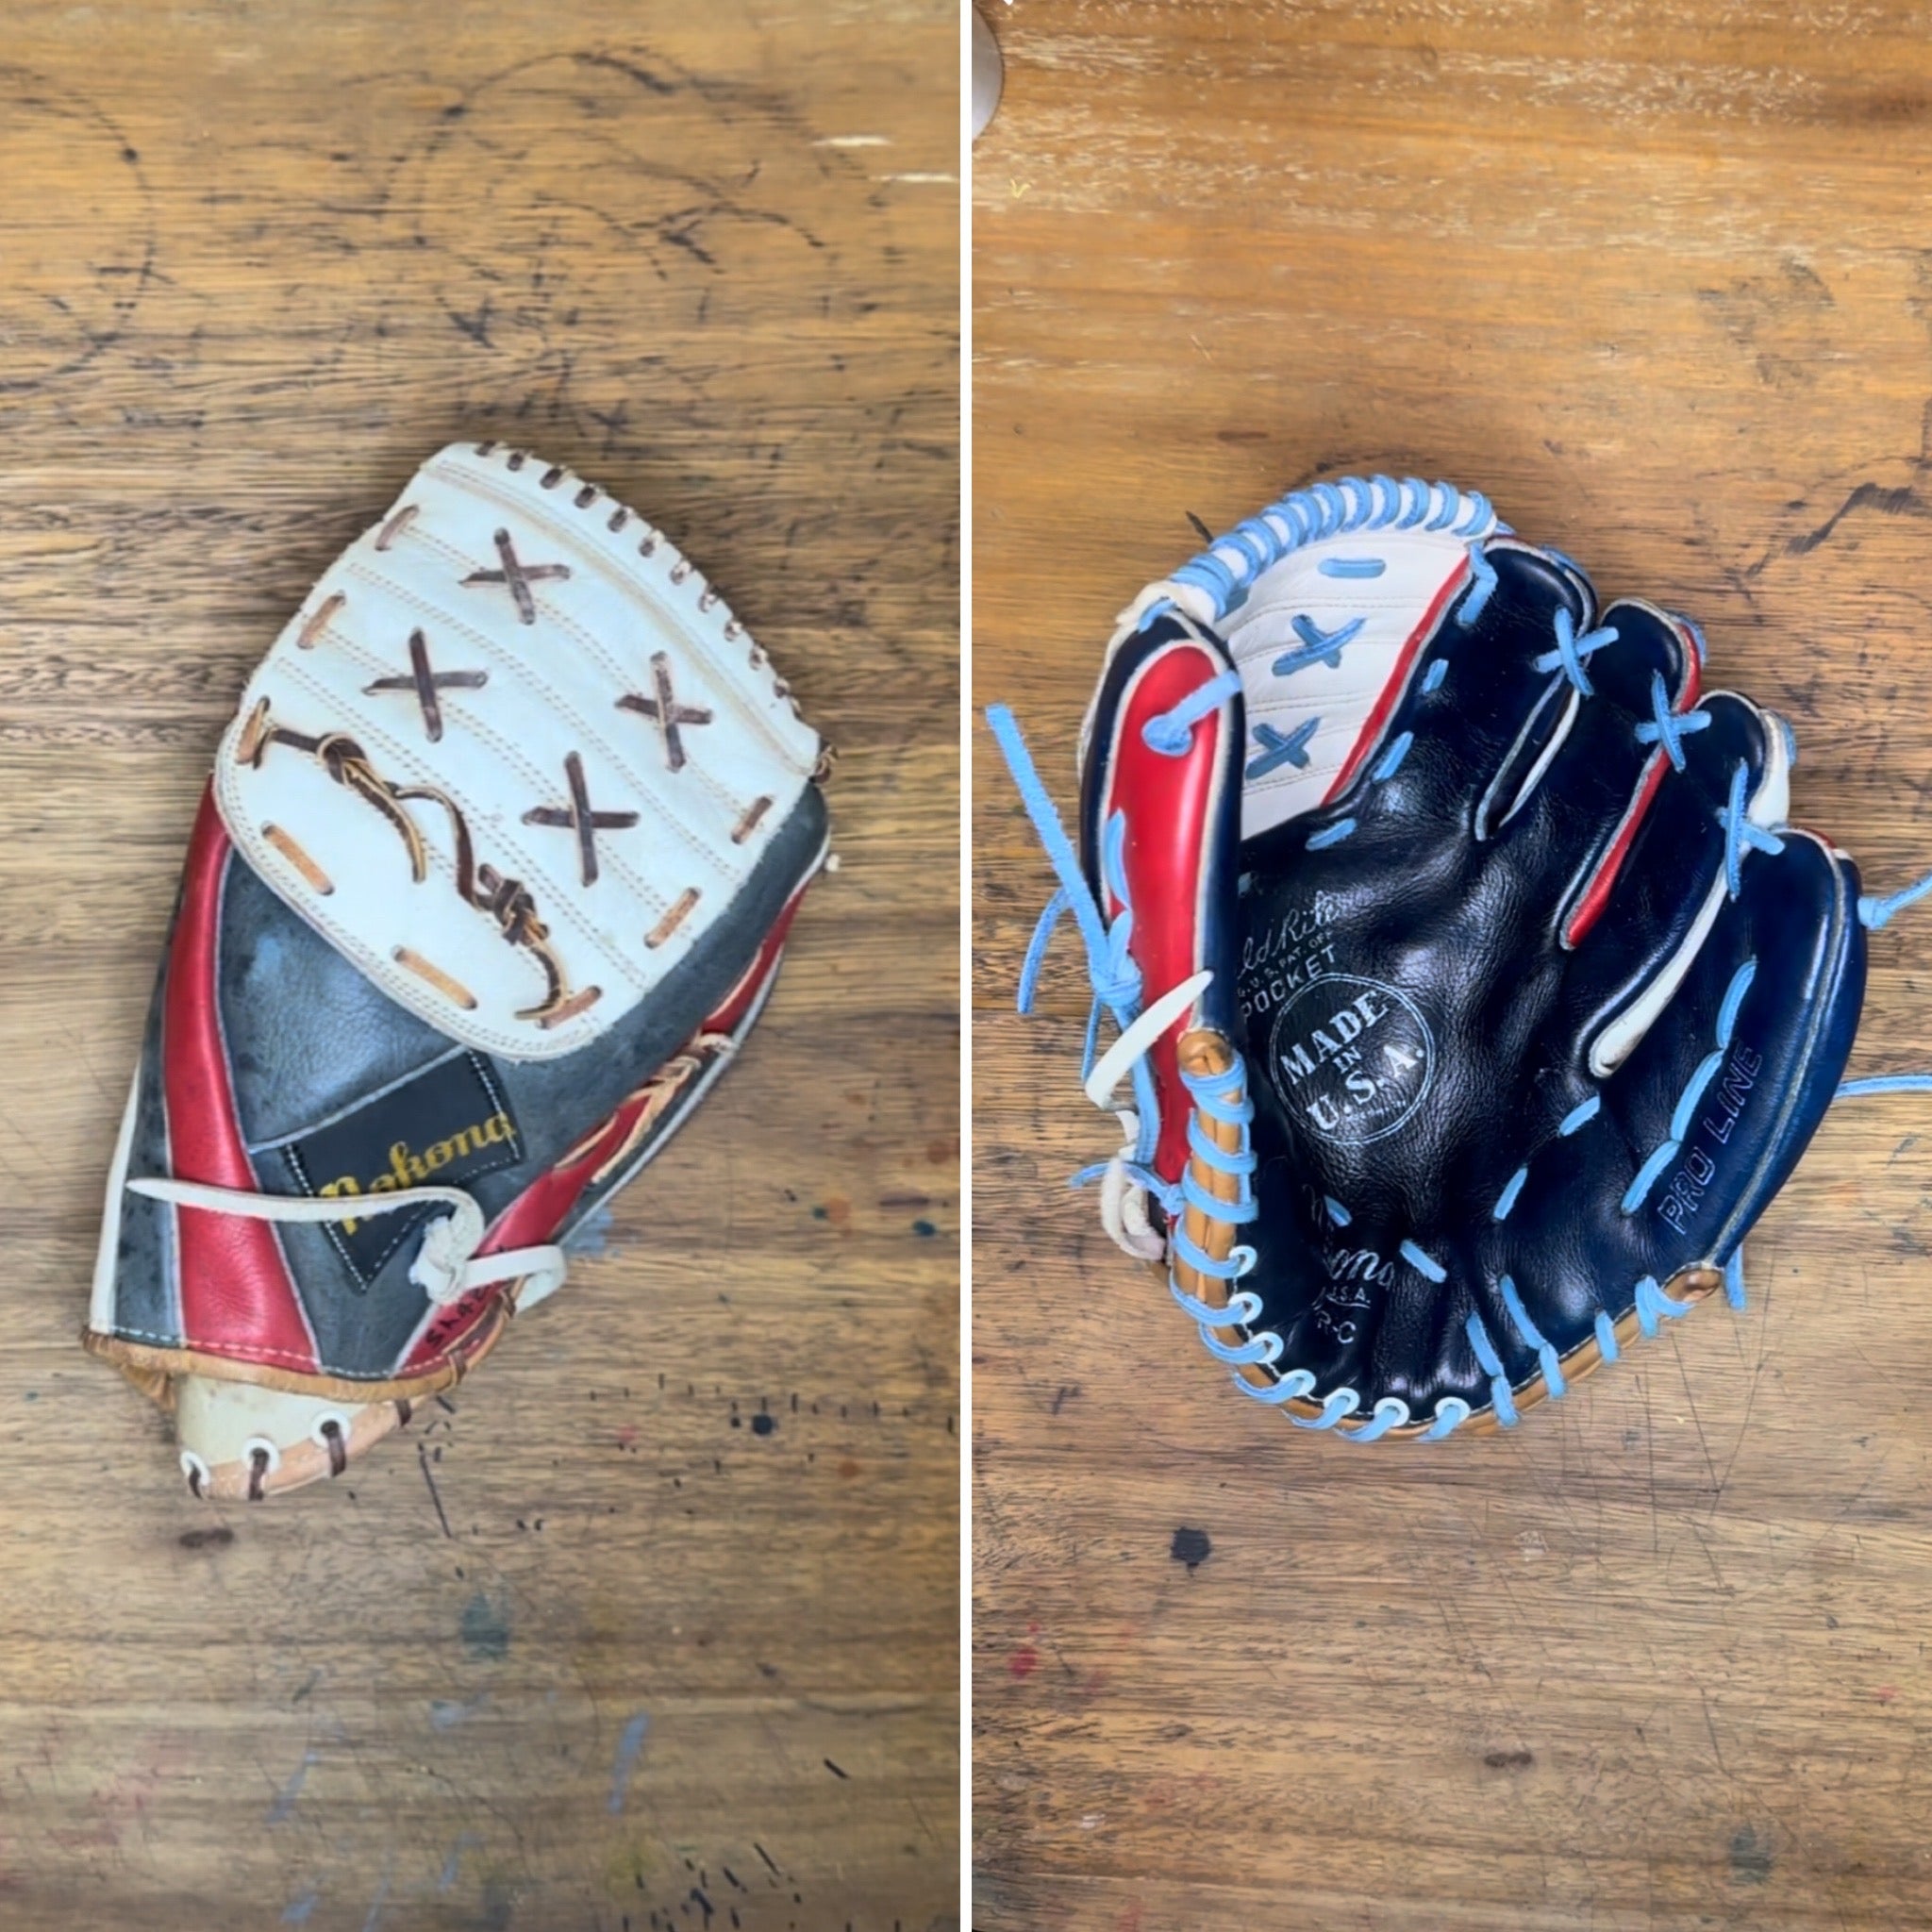
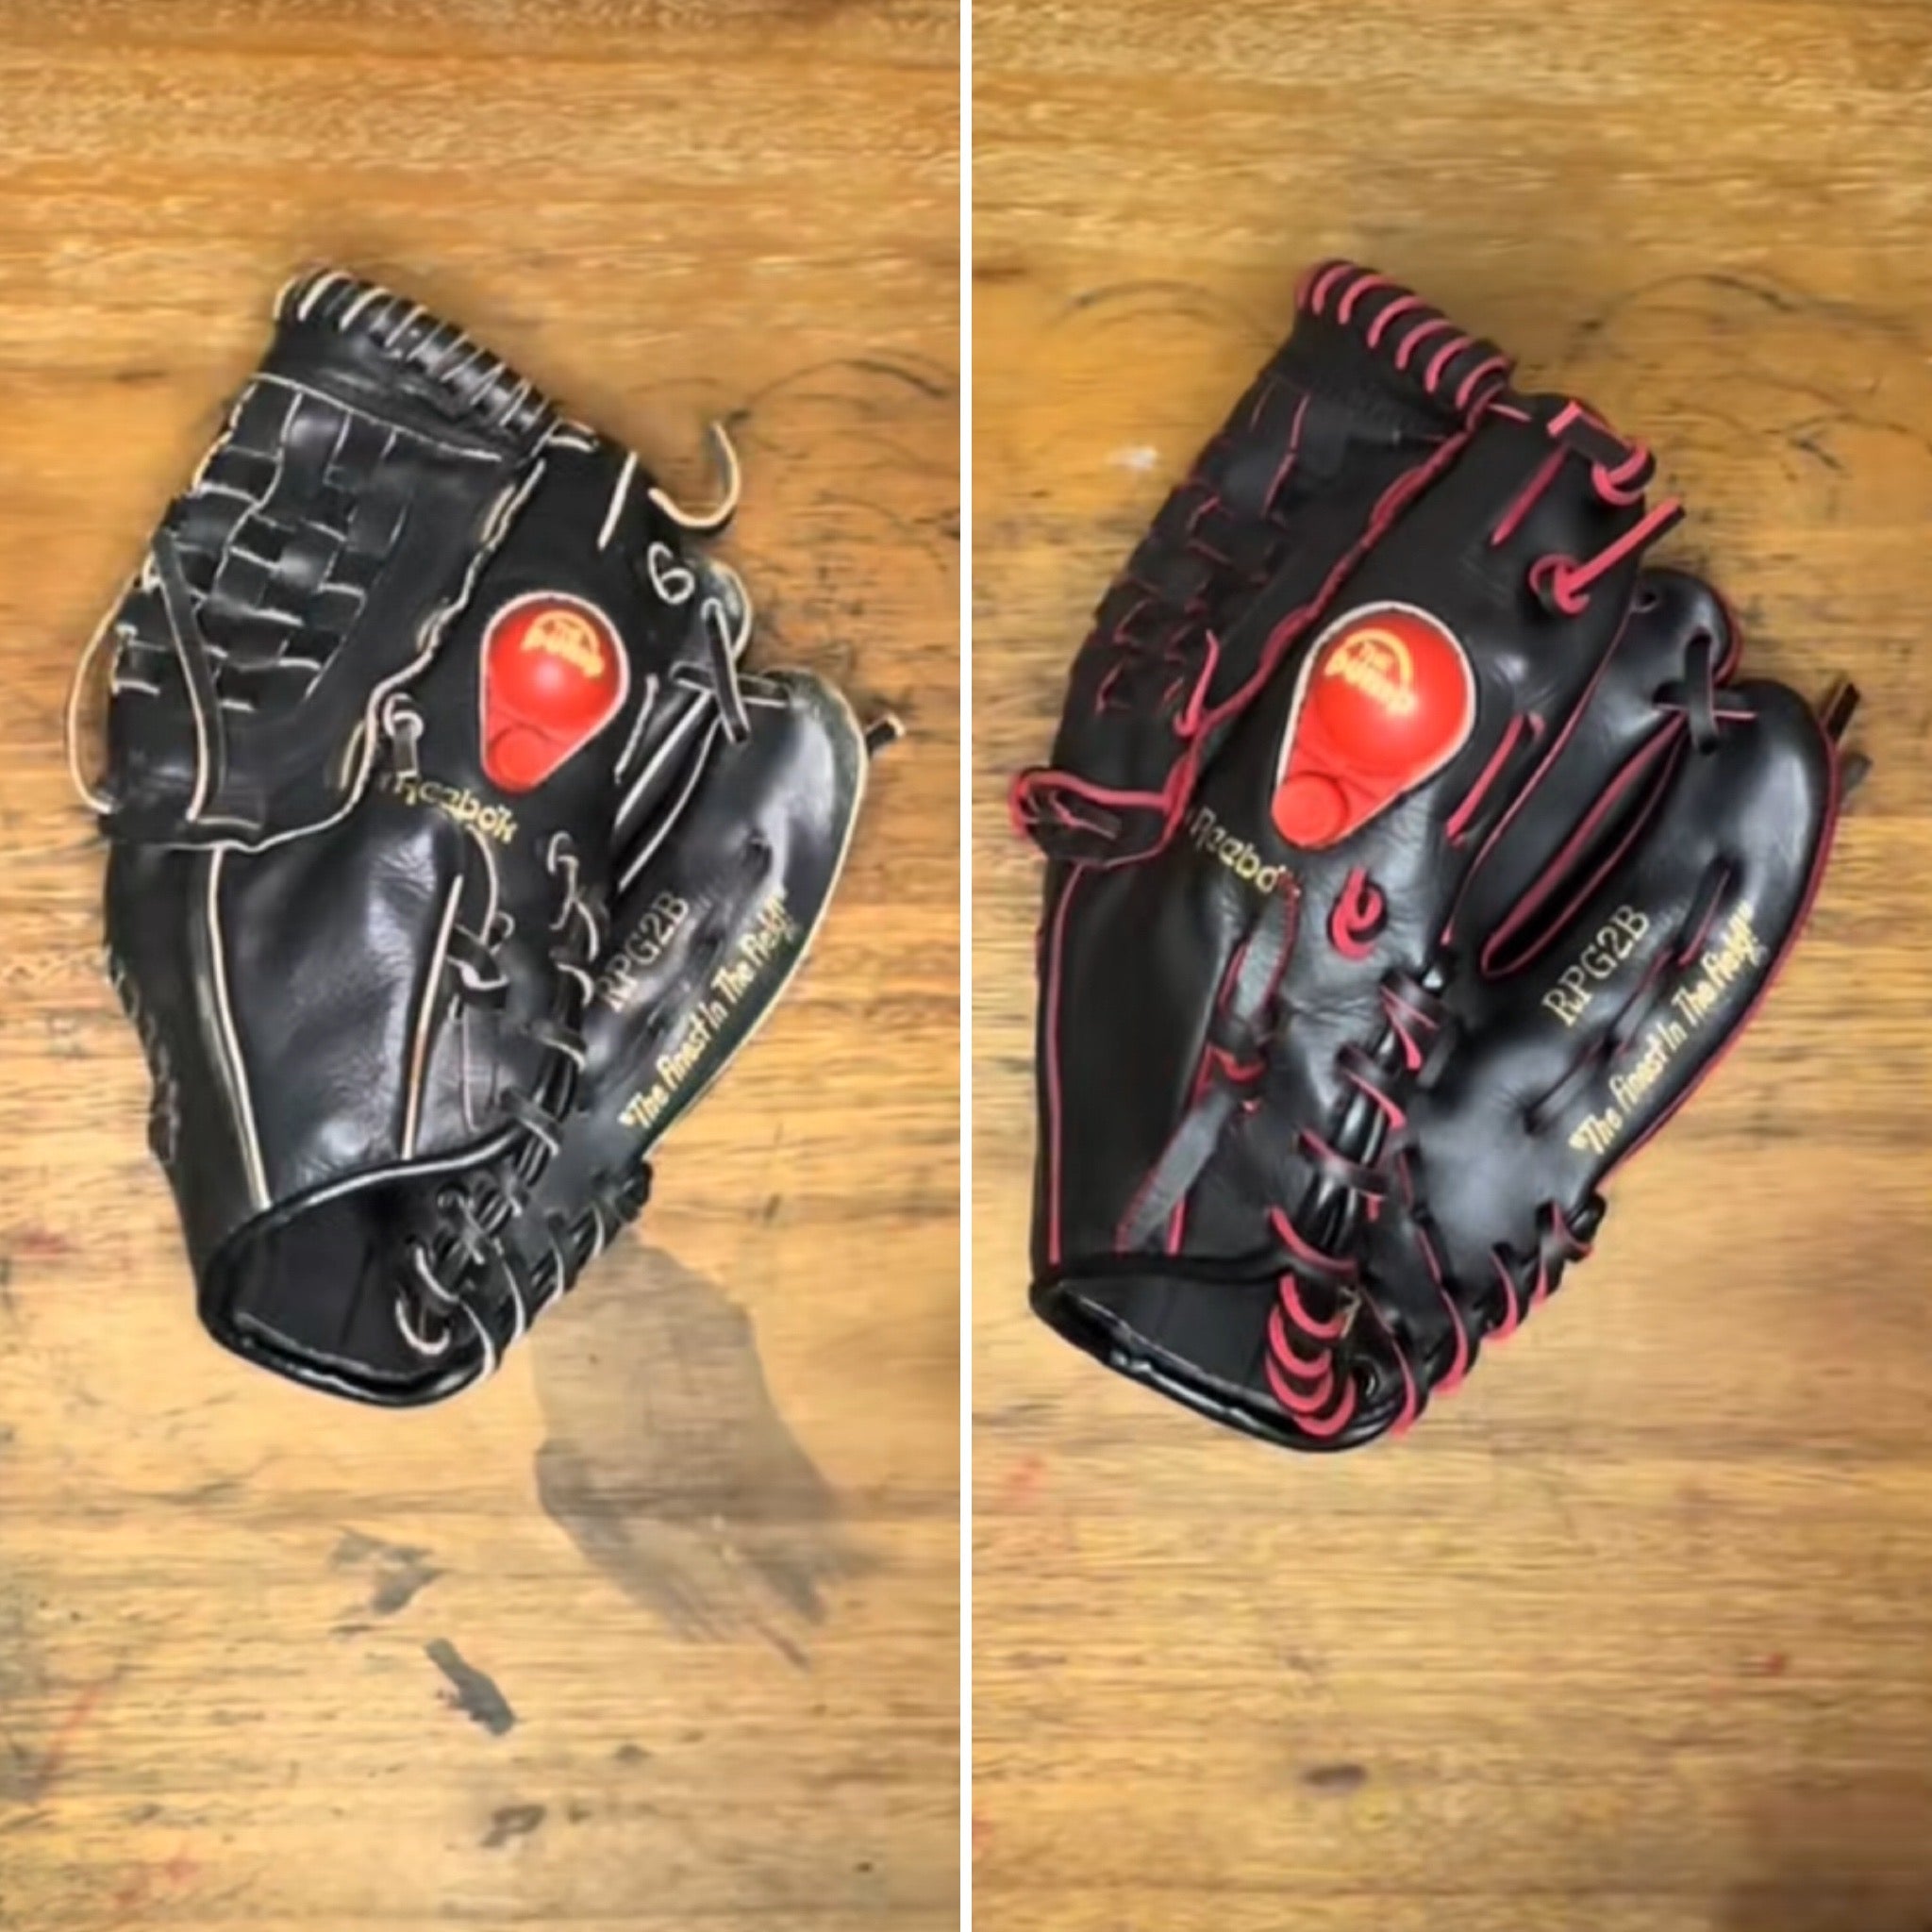
Before and After


For More Inspiration
Follow on Social Media